
I meant to continue with Monty Don’s British Gardens series this week but I haven’t spent the time watching a second time to clarify my thoughts so that must wait. Instead, I channelled my former garden writer persona to capture a before and after as I pruned a camellia.
I was flattered when a gardening friend and camellia aficionado complimented us on our camellia pruning last year. I think his comment was along the lines of how much he notices and admires it every time he comes into the garden. It is not that we prune all our camellias by any manner of means and we do clip, shape, restrict or clean up in many different styles, depending on the role each plant plays in the garden. One size does not fit all.
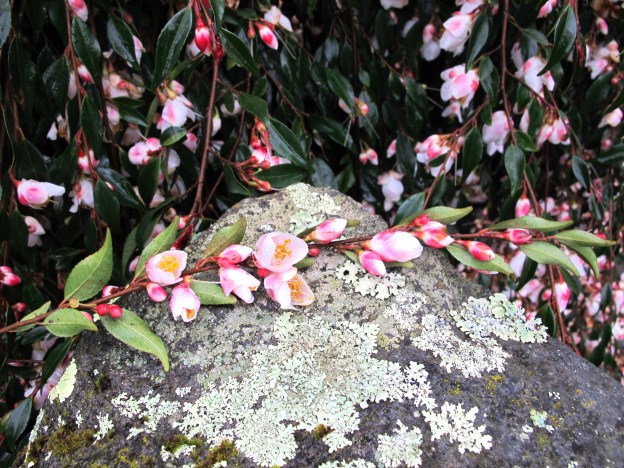
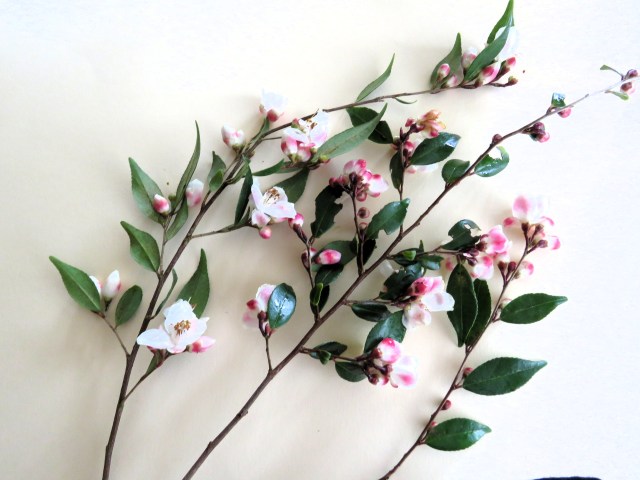
Camellia minutiflora is a dainty little species with the prettiest of tiny flowers and naturally arching growth which we like enough to have maybe half a dozen specimens through the garden. Normally, we try and prune in early to mid-spring but, as I cleaned up the border in which this one sits this week, I could not ignore that it needed some work done on it, albeit in the height of summer. In so doing, I cut a lot of flower buds off but it has so many that it doesn’t matter and the form is more important, really.
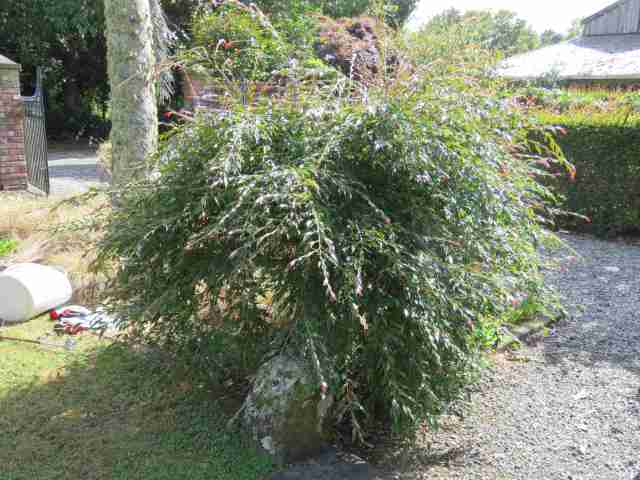
I started by taking off all the growths that were shooting straight up because we want to accentuate the arching growth. Second was pruning back the branches that were arching out too far; third was lifting and thinning from the bottom up. Finally, I thinned out what remained, tracing branches back to the trunk and checking how much bulk we would lose if I took off the whole branch. Always, I try to cut flush to the junction point and to make sure that the outermost cuts are, to all intents and purposes, invisible so no stumpy bits half way down the branches.
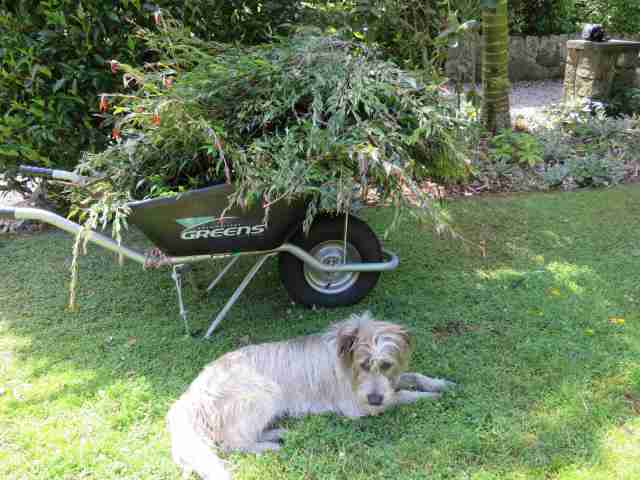
It used to take me ages to prune a plant like this but I am getting faster with practice and this was an hour from start to finish, using secateurs and a pruning saw. The pile in the wheelbarrow is well over half the plant in volume. Ralph supervised, as he does, but did not offer advice.
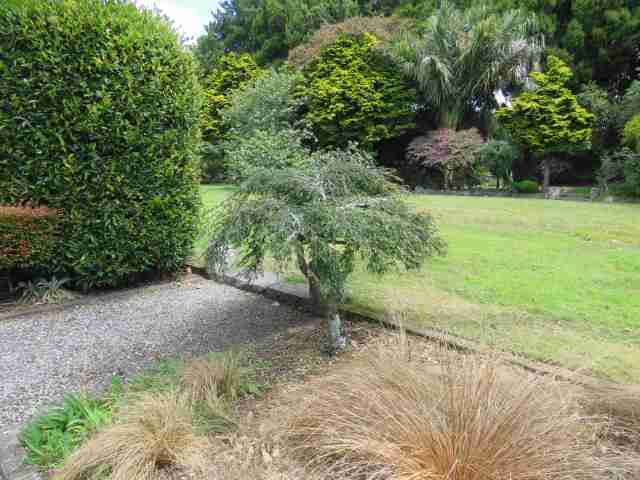
And voilà. The finished product. It is all about freezing this plant in size, finding its form and making it a shapely statement, rather than an unruly blob.
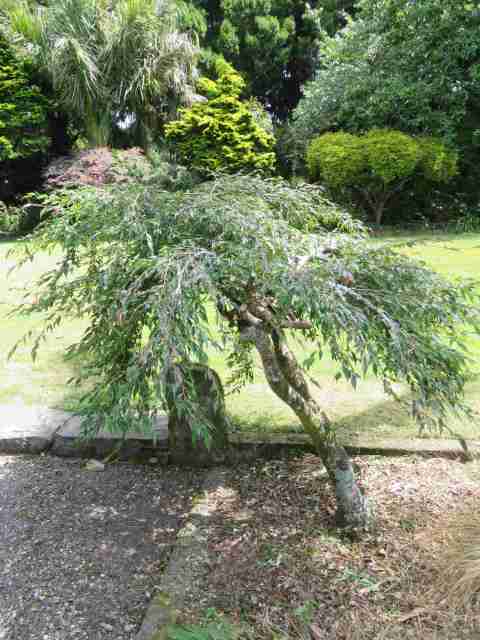
It is growing at an angle and we don’t mind that. It is perhaps a form of bonsai on steroids and in the garden rather than a pot. We want the plant to feature on its own, not to meld with its surroundings.
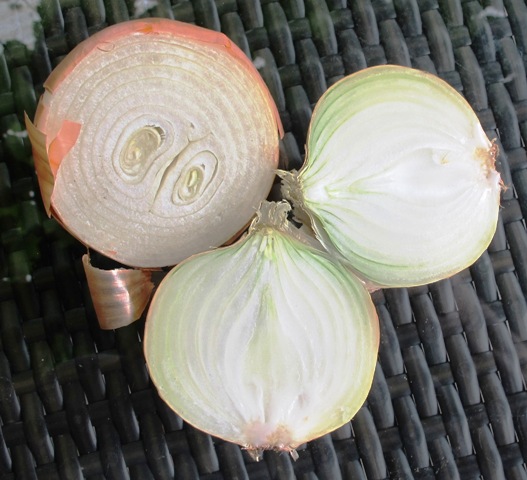 1) Twin scaling is a way of increasing the number of bulbs more quickly than by other usual methods. A single bulb can yield up to 30 or more baby bulbs (bulblets) over a period of a season. It only works with proper bulbs – not corms, tubers and rhizomes. Bulbs need a base plate and a layered construction to be twin scaled – eerily similar in form to the common onion shown here.
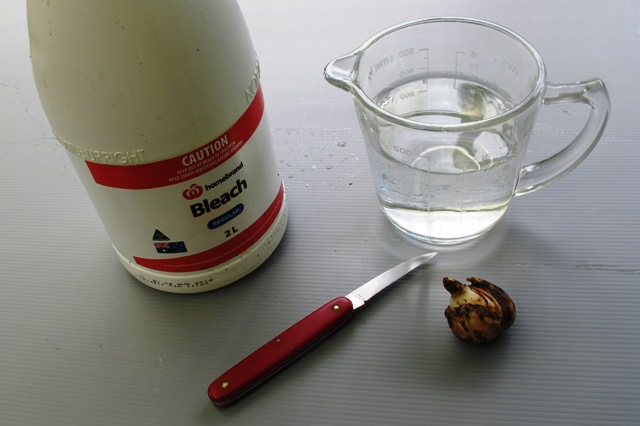 2) Twin scaling works well for bulbs such as narcissi (daffodils), crinums, galanthus (snowdrops), nerines, amaryllis, hippeastrums, lachenalias and some lilies. Wash the bulb and remove any outside coating and old roots. Make up a weak solution of household bleach – about 1:10 bleach to water – and dip the sharp knife and bulbs. Clean working conditions and hygiene are important to prevent disease and the transfer of any viruses.
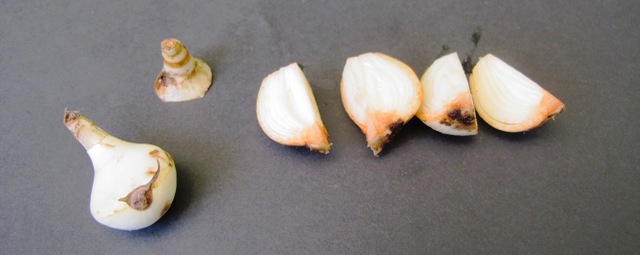 3) Remove any offsets already formed, making sure you keep some of the base plate with them. The base plate is where the roots grow from. Cut the top third off the bulb (both offset and top are visible to the left in the photo). Cut the main bulb into quarters or eighths, depending on the size of the bulb. Each piece must have some of the base plate remaining attached. The larger the bulb, the more sections you will get.
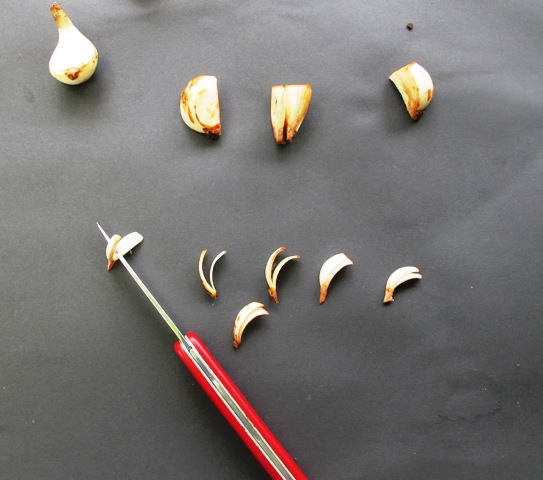 4) Peel off two scales together, attached to some of the base plate. Keep your knife clean and sharp so you can cut through the base of each section more easily. It does not matter if you have three or more scales but if you do not have part of the base plate, the process will not work. A bulblet will form between the two scales on this base plate.
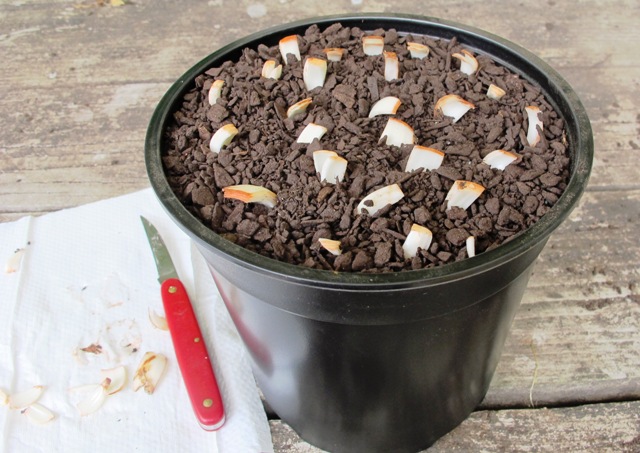 5) Plant the scales in a pot or tray filled with seed raising mix. Press them down deeper than in the photograph until just the tip is visible. Water them in and keep the tray in a warm, reasonably dark position. The bulblets will form through the autumn and grow away in spring so it is best to twin scale when the bulb is freshly dormant. It is too late to twin scale autumn flowering bulbs because they are already starting to grow but you can do the spring flowering ones which includes narcissi such as this bulb.
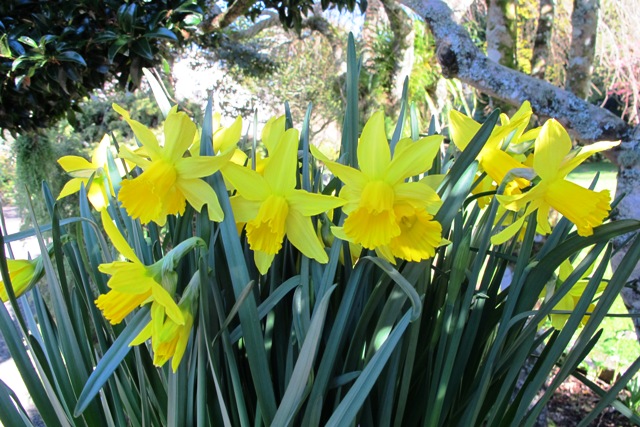 6) If you lack the confidence to take each section down to two scales, you can stop at step 3 where you have cut the bulb into quarters or eighths. As long as you look after them, most sections will grow away into healthy, independent bulbs. It is probably easiest to start with a large bulb while you gain confidence. Most bulbs propagated by twin scaling will take at least two years to reach flowering size, sometimes longer.
 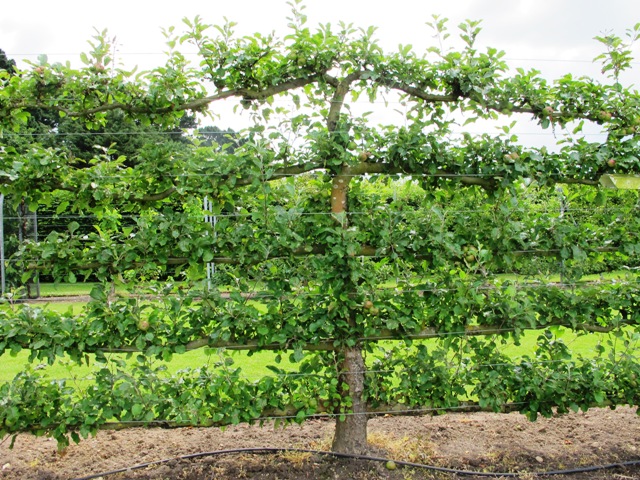 1. The freestanding horizontal espalier. You can see clearly the advantages of a two dimensional plant. Good air movement will reduce disease. It is easy to tend the plant and the fruit all receives equal sunlight. You can also see that the supports are heavy duty. This is not an exercise to be done with a few bamboo stakes and stockinette ties.
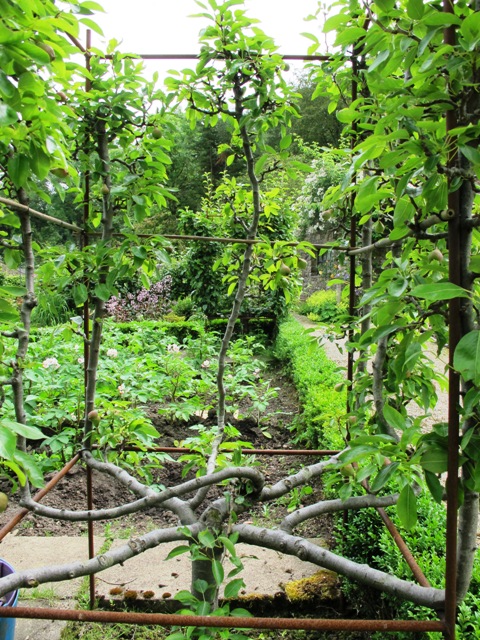 2. The cube requires some heavy duty framing but is quite stylish, even if I was worried by the top branch that was trained back on itself. Using a frame which gently rusts as it ages will make it less visually intrusive than the tanalised pine we often favour in this country. It is the plant shape you want to emphasise, not the support structure. This design allows good air movement through the centre of the tree.
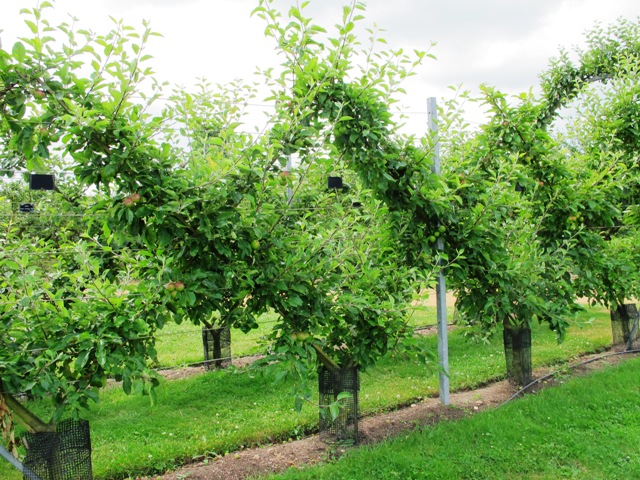
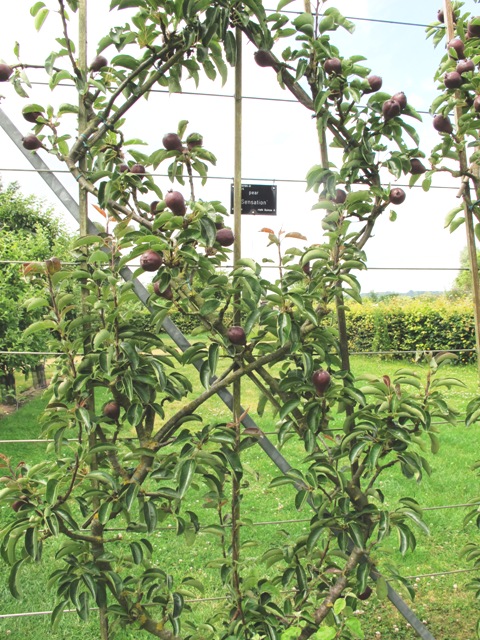 3.The diamond row was visually the strongest in terms of pattern. I raised my eyebrows at the potential rubbing of bark where branches cross. Stem damage can let disease into the plant and a rule of thumb in all gardening is to avoid crossed branches. Presumably in an intensively maintained espalier, you are replacing the branches regularly with fresh growth so there is a bit of leeway if this is the look you want.
 4. There is little doubt that your fan-shaped espalier will look better if you clad the fibrolite garage in old brick veneer and casually pose a stylish, vintage, terracotta forcing pot in front. The advantage of espaliering against a wall is the increase in heat for marginal crops. We don’t need to do it for apples and pears in this climate but I can see that it could work well for figs and some of the stone fruit.
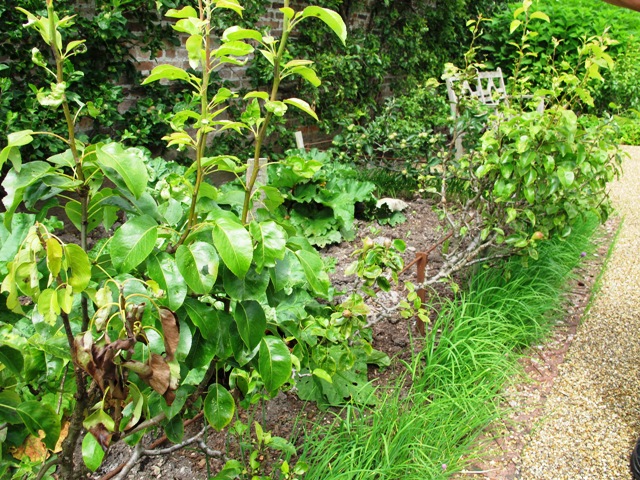 5. I have mentioned trendy stepovers before – the training of an espaliered fruit at knee level. This is a dry climate technique and where rains are light and misty. Our torrential downpours will cause rain splash and spread disease faster than you can blink. We need maximum air movement and to be above the splash line in our humid climate. That said, you can see disease in this example. I have yet to see one which remains at step-over height all growing season.
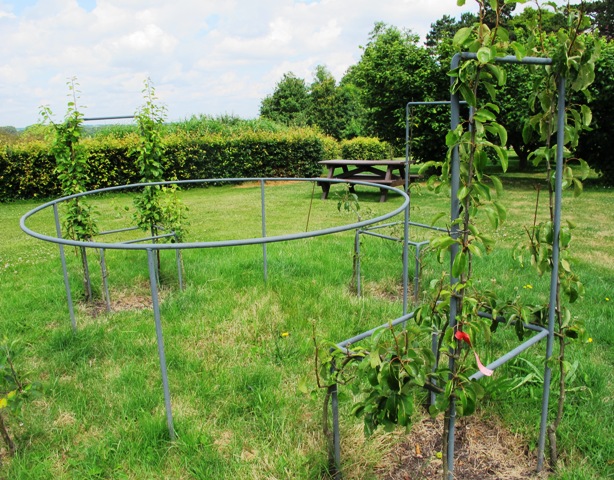 6. These table and chairs are obviously not yet established. I offer them as an idea without comment, secure in the knowledge that regular readers will know exactly what my personal opinion is likely to be. However, for those who like a little novelty in their garden, here be they. I even recorded some instructions for you.
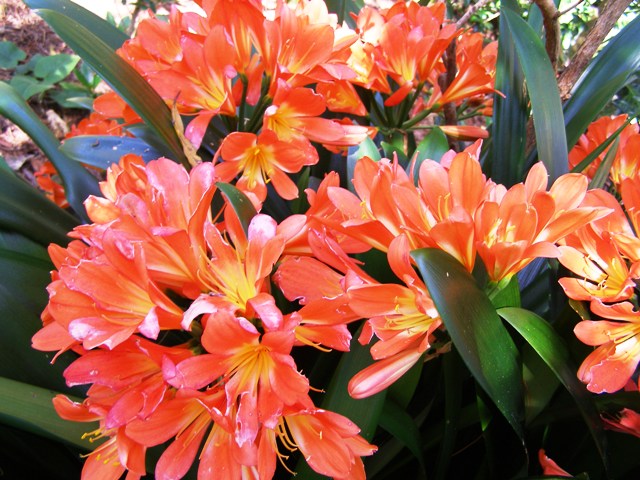 1) Clivias are wonderfully adaptable plants for mild climates. Their ability to thrive in hard conditions, even in relatively deep shade and with a regime of near total neglect makes them an obliging garden plant, once they are established. They don’t like frost but woodland conditions will protect them. The reason they are seen as expensive and choice is because they take years to reach a saleable grade, not that they are difficult. However, given time, clumps can get very large and yield many divisions for replanting.
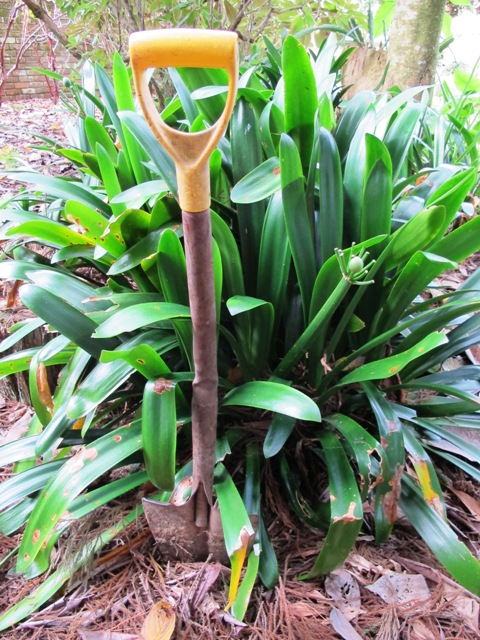 2) It doesn’t seem to matter when you divide them, though it would probably pay to avoid dry mid-summer. Like most perennials, they respond well to lifting, dividing and being replanted in ground which has been freshly dug over. The clumps can be large and heavy but this one was small enough to get out as one. Get as much of the root system with it as you can.
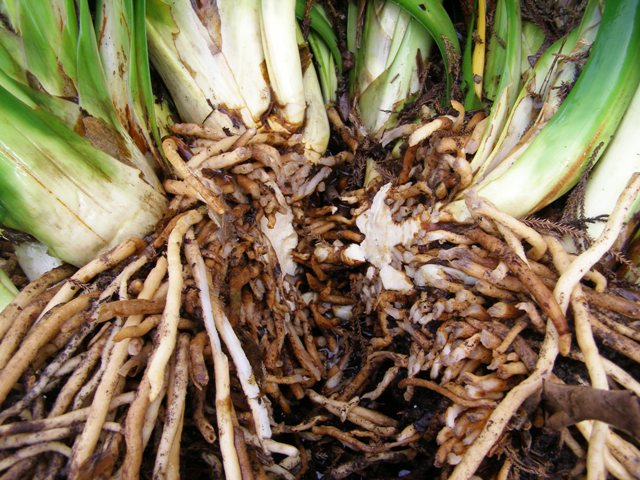 3) I hosed the clump so it was easier to see and to show what the base looks like, but this is not necessary. The fleshy base is easily cut with a garden knife or a spade. It is easier to control what you are doing with a knife and to make sure that each division has roots attached. If you try and pull them apart by hand, you are more likely to end up with a tuft of leaves and no base.
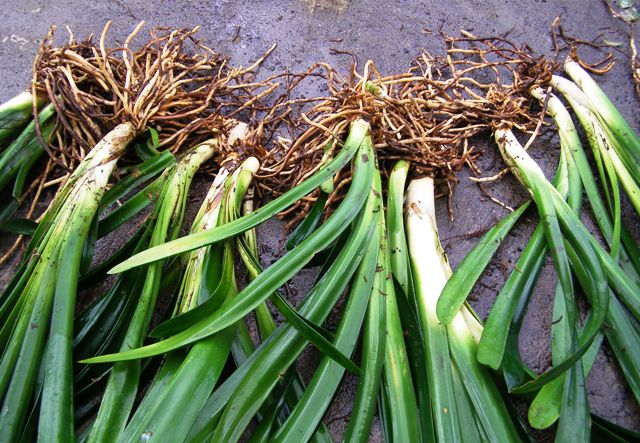 4) It pays to reduce the volume of foliage – this reduces stress on the plant which has undergone considerable disturbance and root damage. I took off about half the leaves where the root systems looked small.
 5) I dug over the area where the clump had been growing before replanting, incorporating the leaf litter that was lying around. Fertilise lightly if you wish and spread compost to enrich the soil and act as mulch.
 6) In digging over, I found the missing rake head from many years ago when the area was first planted. It is a bit like trowels and secateurs in the compost heap but they usually reappear within the year (albeit in just as poor condition).
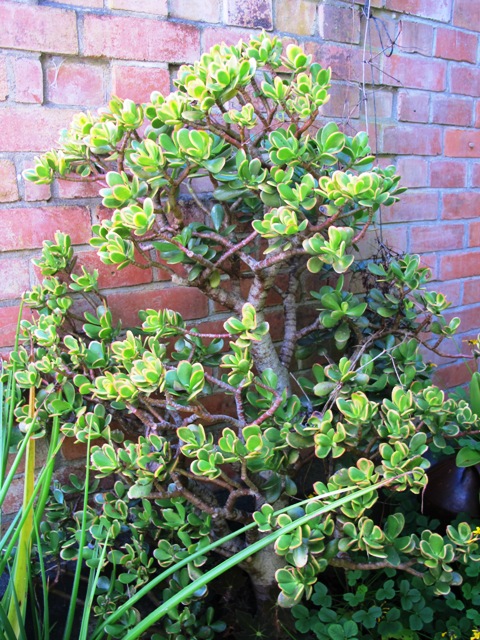 If everybody realised just how easy it is to strike succulents from cutting, nobody would buy these plants unless they were new or exciting. This Crassula ovata (Jade Plant or money plant – very good for feng shui, apparently) could easily generate 30 good sized plants or many more smaller ones.
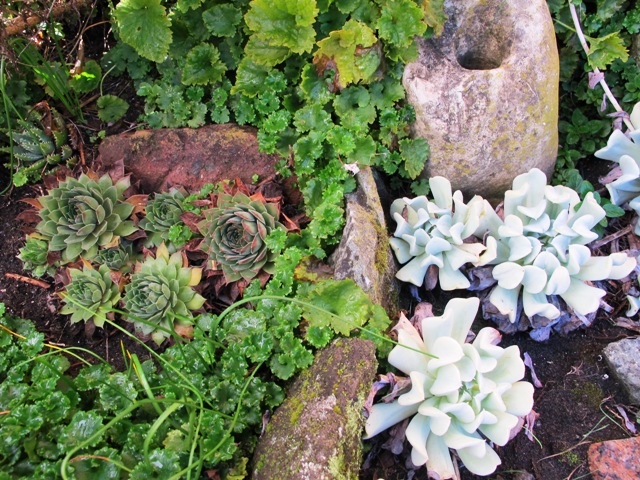 The ground-hugging types which form rosettes are easy to lift and divide. As long as they are replanted in full sun with excellent drainage and light soils, each little rosette will form new roots when nestled into the soil. Tidy up the rosette first by removing dead leaves to avoid them holding moisture in the rotting foliage.
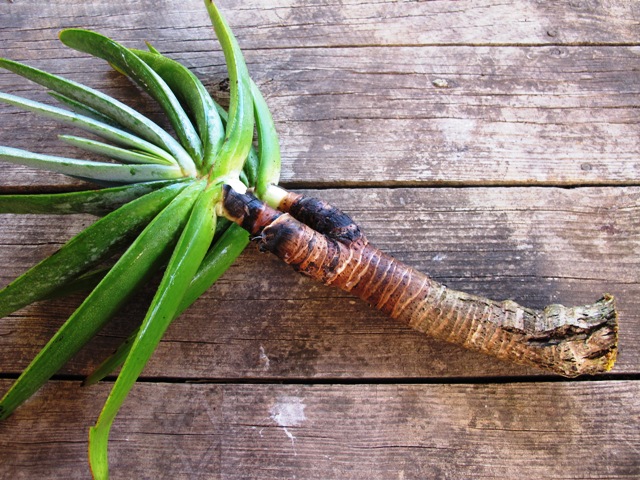 Even succulents with well defined branches will grow. This is Aloe plicatilis or the fan aloe. Unlike usual leafy cuttings, succulents can be struck from very large pieces and you can expect close to 100% success rate. Cut to a balanced shape. Place the cutting in an airy spot and leave it for a few days to dry out. This reduces the chance of rotting before it creates roots.
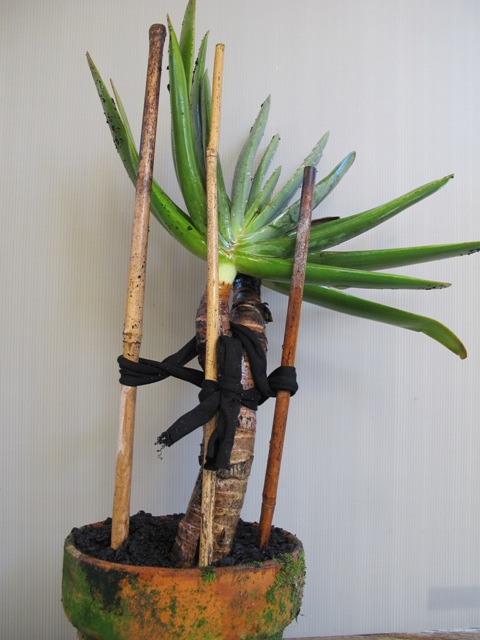 Stick the cutting into a pot filled with a free draining potting mix (we use granulated bark) It is better to use a mix which does not have much fertiliser in it but this is not critical. You can equally put them straight into the garden in a free draining, dry position. It may be necessary to stake the top if you have a heavy cutting so that it remains standing. Do not try and keep it firm by compacting the soil or potting mix because you want maximum drainage.
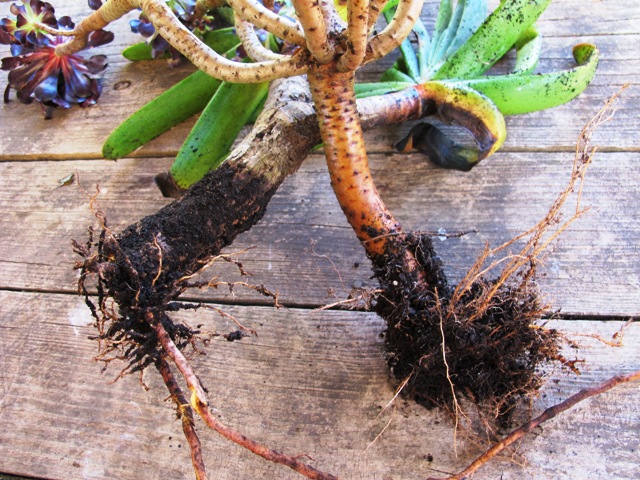 Make sure that the cutting does not get waterlogged while you wait for it to form roots, but it will need an occasional wetting. In a few months, most plants will have started producing roots but it will take time for a large or heavy cutting to develop enough of a root ball to keep it standing upright.
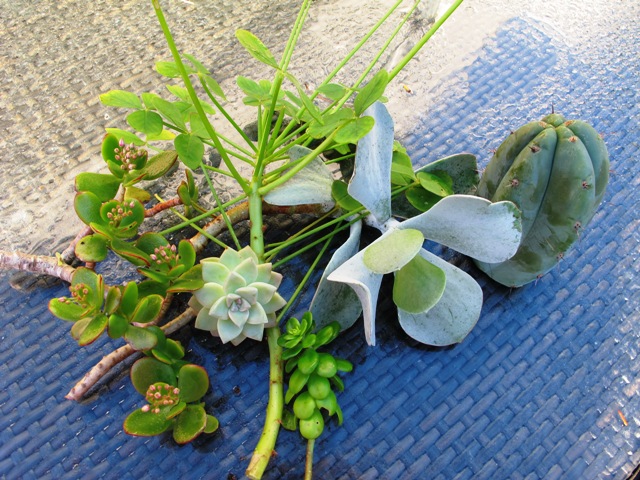 Most succulents, including the popular burgundy black aeonium whose name few can remember and even fewer can spell (Aeonium arboreum ‘Zwartkop’ or ‘Schwartzkopf’), sempervivens, aloes and many cacti can be increased this way. It is a good activity to share with children.