
 Look! The red cubes are evergreen azaleas. We were driving along and I made Mark stop the car so I could photograph this border from the street because it was eye catching. The azaleas appear to be all the same variety. Each rhododendron in between is a different variety. We decided that what lifted this border above the usual alternating planting – which I have been known to refer as the vaudeville or circus tent look – is the fact that it utilises formality without slavishly trying to make all the plants look identical. Each red cube is actually a different size.
One of the problems of strictly formal plantings is that the symmetry is ruined if a plant fails to thrive or dies. This is a common problem because plants are living organisms and may not conform to your requirement that they obediently stay identical to their neighbours. Here is a practical solution to that conundrum, giving structure, form and unity by overall impression, rather than exact detail. When not flowering, the azaleas will just be green cubes instead. Should one die, it will not ruin the entire length of the border if it is replaced with a younger, smaller plant.
I am not so keen on the sharp contrast of the white fence at the front, but that is entirely personal taste. Notice how the dark fence behind the border makes it recede into the distance rather than drawing attention to the straight lines of the boundary with the neighbour.
First published in the Waikato Times and reprinted here with their permission.
 Despite the subtitle, An Illustrated History, this handsome book is more for the coffee table than a library reference. The selection of trees – and there are about 100 different tree species, each given at least a double page spread, sometimes more – is a little too random and eclectic to make this useful as a reference book. It is more testimony to a love affair than a work of scholarship.
 The floating or suspended steps with no visible support structure are a common feature in modern interior architecture where a lighter look is desirable. I can’t recall seeing them used in a garden before and, to be honest, I am not sure they add a great deal to this particular scene. But I did photograph it in a place with a large budget where the owners and designer could clearly afford such attention to detail.
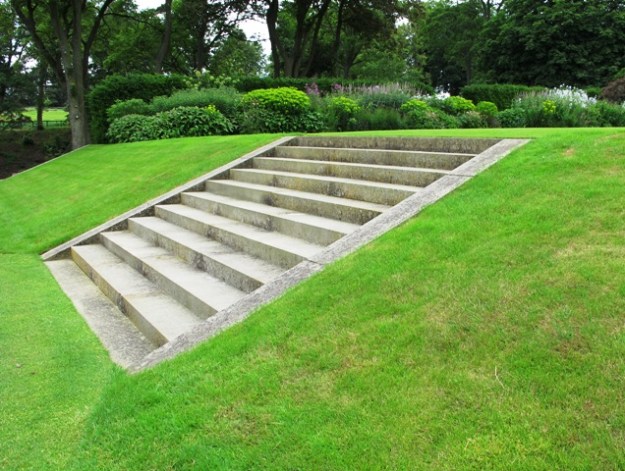
 These are the classic steps which are attributed to the great architect Edwin Lutyens during the time of the Arts and Crafts movement at the turn of last century. A central circle has inwardly curved steps on the upper side and outwardly curved steps leading downwards. Good design does not date. Good construction also lasts the distance.
 These steps have the outward curve only, but I chose them because they are an example of dry climate steps. The narrow strips on the treads are actually terracotta tiles placed on their sides. The look is detailed and attractive although I imagine it would be expensive to do here Both clay brick and terracotta will become moss-covered and very slippery in damper climates like ours. Note the care and precision in construction.
 Not every set of steps is going to be a precisely engineered work. These were clearly DIY, although access to flat slabs of stone for the treads gives the impression of permanent quality. Look at the risers – some are local round stones held together with cement. In the absence of suitable stone slabs, check out the modern concrete pavers on offer. These can be cut to size and the finish can be good enough to deceive most eyes.
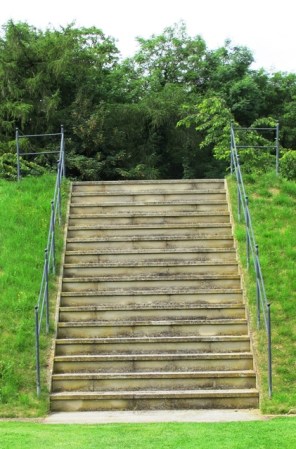
 No matter what material you choose to construct your steps, there are well established guidelines for measurements. For comfort, the gradient is less than internal house stairs. Step risers should not be more than 15cm high and the corresponding step tread around 30cm from front to back. There is plenty of information on proportions that work best. Generously wide steps usually look more gracious than tight, narrow steps where space allows.

