
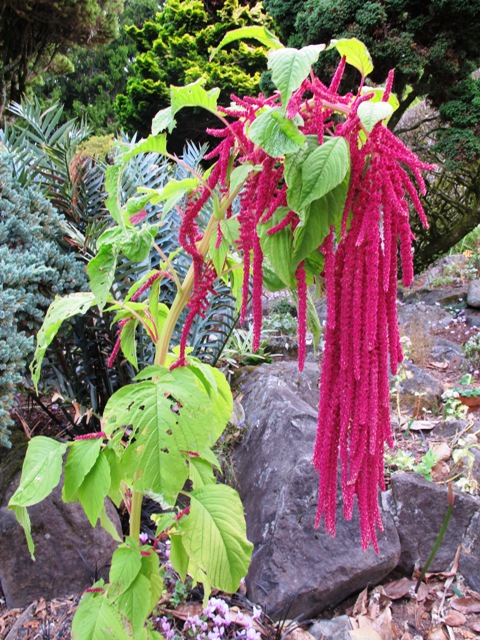
Perennial beds at Auckland Botanic Gardens – white gaura with eupatorium and a salvia.
The January issue of the NZ Gardener magazine had a two page feature from Auckland garden designer, Xanthe White, on designing perennial borders. It is worth searching out if you are interested, because it is a remarkably succinct piece of writing tailored to in our conditions.
I say “our conditions” because gardening in this country is a year-round activity. In much colder climates, people put their gardens to bed for several months of the year and retreat indoors. I can’t recall any New Zealand garden I have seen which becomes a bare, dormant canvas in winter. Xanthe was suggesting getting a mix of perennial plants to take the garden through the seasons. Her recommended balance was to select 30% of plants that flowered in each of the peak seasons of spring, summer and autumn and 10% in winter. It is good advice, though you may be struggling to find a wide range of winter flowering perennials beyond bulbs and hellebores.

The long border at Great Dixter in England is regarded as a classic example of its type
The trade-off is that there is never a peak time for bloom. Nobody does herbaceous borders like the English do but it is not just because of their labour intensive property that we have not embraced them in this country. Few New Zealand gardeners would accept a garden which looked absolutely amazing in February, pretty good in January and March, starting to pass over by April, dead as a dodo through the winter months and resolutely green with no colour in spring. But if you want a garden that comes together all at once in peak perfection, that is what you can end up with. To manage blooms and fresh growth for a much greater period of time, requires very high level gardening skills, plant knowledge and willing labour.
The fall back position in New Zealand is to add in trees and shrubs and to encase the border in a neat little evergreen hedge. Buxus suffruticosa was the go-to option for this until the dreaded box blight took hold. This takes it away from a perennial border and turns it into a mixed border. We all do it. It is rare to see a straight perennial border here, outside of public parks and botanic gardens, without woody shrubs, trees and hedges added in to give year round structure and interest.
When it comes to understanding perennials, I would ever so modestly claim that we have a better than average knowledge of bulbs and woodland or shade perennials here. Getting to grips with perennials for sunny positions is a different kettle of fish altogether. Several years in already, I can see that it is likely to take the rest of my active gardening life to get the level of knowledge and skill I want. They are the mainstay of the summer garden and a major contributor to the autumn garden but my goodness it can be complex. I disregard spring because, honestly, we do brilliant spring gardens in this country. I see lots of splendid gardens filled with colour, lush foliage and scent throughout spring time. It is easy here. But I can’t recall seeing drop-dead wonderful summer gardens achieved without irrigation. By autumn, most of us are resigned to a somewhat scruffier appearance altogether. We lift our eyes instead in the hope of autumn colours from deciduous trees and shrubs.

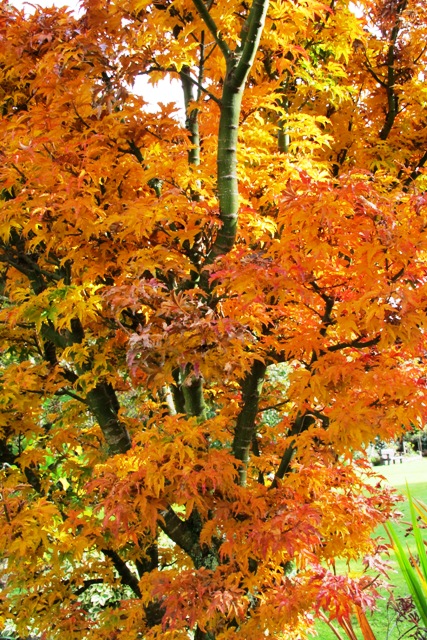
The yellow perennial bay at Hyde Hall, the RHS garden north of London
Why do I say perennials are complex? There are so many variables. Not only is there below ground – the root systems and how these grow in conjunction or in competition with other plants – but there is such a lot to be factored in about above ground performance. Deciduous or evergreen, colour and shape of both foliage and flowers, peak display time, whether they need staking or dead heading and how often the plant needs lifting and dividing, size, how the plant looks when outside its star performance time, requirements for water, frost protection or winter chill let alone sun and light – and that is not a comprehensive list. These vary for each plant type. It is a lot of knowledge to build up.
The skills lie in avoiding the mishmash or hodgepodge effect. No wonder people go for the easiest option and mass plant a single tried and true ground cover perennial. The aforementioned Xanthe White article gives you a mid-line option if you want something more interesting but still relatively easily managed by the home gardener. I am anticipating spending the next decade at least getting to better grips with perennials before I think I will be happy with the results I can achieve. But that is fine. We have never seen gardening as a path to instant gratification.
First published in the Waikato Times and reprinted here with their permission
-39.042098
174.300314


 Autumn planting
 1) Some plants are difficult to propagate from cuttings, even more so for home gardeners without temperature and moisture controlled conditions. If you are not in a hurry, layering a plant can be a simple way of increasing numbers or of getting a back-up plant for rare or special material which may not be available for sale. This rhododendron has layered naturally where branches lie on the ground.
 2) The plant needs to have low growing, flexible branches which reach to the ground. You may wish to try layering plants such as magnolias, rhododendrons, camellias, daphnes or conifers. Most woody plants can be layered over time but it is faster to do easily propagated plants like hydrangeas from cuttings.
 3) Select a firm branch or stem which can reach to the ground. It does not matter how old the wood is though young growths from last season may root faster. Remove the leaves from the middle if necessary. Slice a thin layer of bark off the lower side (called making a wound). You can paint the wound with rooting hormone if you have it, but this is not critical.
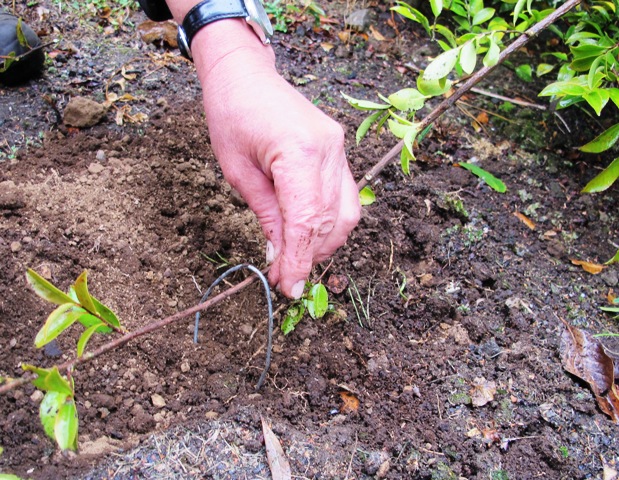 4) Cultivate a small area of ground beneath the branch or dig a small trench. Peg the branch down so the wound is in contact with the soil. A hoop of wire is ideal for this part of the process. Peg it firmly so it cannot move. Cover the pegged area with up to 10cm of soil. You want to prevent the layered stem from drying out. Leave the branch tip uncovered. Now be patient. It will take a year for easy material and maybe as long as three years for difficult to propagate plants such as many of the rhododendrons.
 5) When the layer has formed a reasonable mass of roots, cut it from the parent plant (think of this as cutting the umbilical cord) and either let it grow a little longer where it is or move it to some well cultivated soil – the vegetable garden is often good – so you can take care of it while it develops into a more sturdy plant.
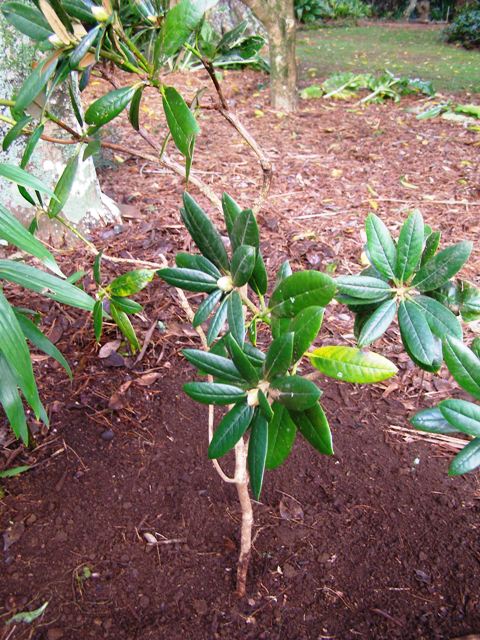 6) You will usually need to stake the plant to train it to grow upwards and to start developing a good shape although you can sometimes plant it on an angle to get the main leader almost vertical.