
Step by step instructions for pruning apple trees in winter are available here.

1) Apple trees can survive and continue to crop despite total neglect, but you will get much better results if you give them some attention. This huge old Granny Smith apple tree has not been touched for many, many years and shows why it is better to start with grafted apples on dwarf root stock. This tree is destined to be cut out in favour of our smaller trees which are easier to care for.

2) Apple trees are currently sporting their new growth which shows as long leafy whips. It is this growth which will give replacement fruiting spurs next summer. Ideally, you should be replacing all fruiting spurs on a two to four year cycle – cutting out old clusters and allowing fresh ones to take their place.

3) Trim the long whips back to about half their length to encourage the fruiting spurs to develop. Surplus whips can be cut right back to a bunch of fruit. You want to keep the tree open and uncluttered to allow the fruit to ripen well.

4) If your apples are looking too bunched up, it is best to thin out the fruit so that those that remain will be better quality. The tree will drop some surplus fruit before it is ripe, but thinning ensures that you keep the best specimens and stops the weight from breaking branches. Cut off very small or deformed fruit, reducing bunches to between two and four fruit. Some people recommend taking out the centre apple from a bunch to give those around it room to develop fully.

5) Codling moth is the single biggest problem and the caterpillars can take out an entire crop if left unchecked. They burrow into the apple, leaving nasty black tunnels. It is too late this season to try organic controls (pheromone traps and collars on the trunk of the tree). You need to start earlier in spring. We are resorting to insecticide spray this year to try and break the cycle. December to February are the times for spraying. It is recommended that it be done fortnightly but we will only do it once or twice.

6) We do not carry out a rigorous spray programme so our trees show black spot, mildew, leaf curl and various other afflictions but we still get crops of apples. Traditional practice is to spray with both insecticide and fungicide every 10 to 14 days after the blossom petals have dropped until harvest – ask at your local garden centre for appropriate sprays. Spraying will give heavier crops of more attractive fruit but we are willing to trade that off by having additional trees and not spraying much at all. The leaf curl shown here is caused by a tiny orange midge and is easily dealt with by cutting off the tips of the branches and burning the leaves.


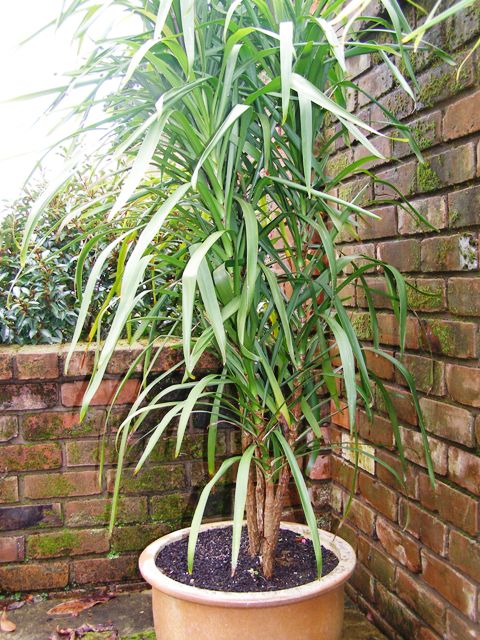

 1) This tree aloe (Aloe thraskii) is in the wrong place and has been for at least fifteen years. Large plants can be moved, but this involves taking a large enough root ball to support the top. It is best carried out between late autumn and early spring so that the plant has a chance to settle in and put out new roots before summer.
  2) A large trench needs to be dug out, wide enough for you to stand in. This trench is around 60cm deep. Dig it with straight sides to start with. It allows you to look at the plant’s roots and to get access right underneath the plant. Keep it well out from the plant because you can make the root ball smaller but you can’t make it larger again.
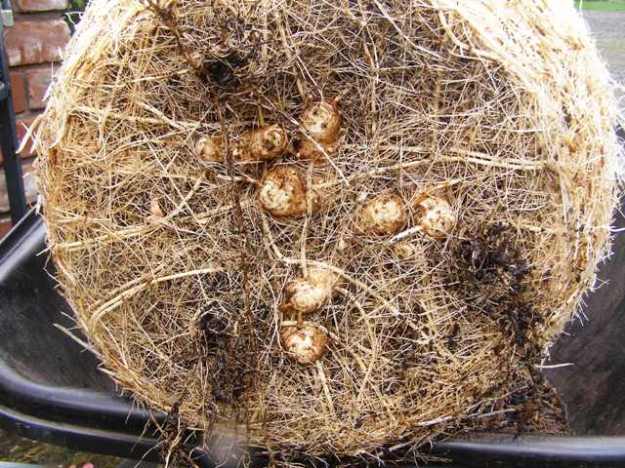
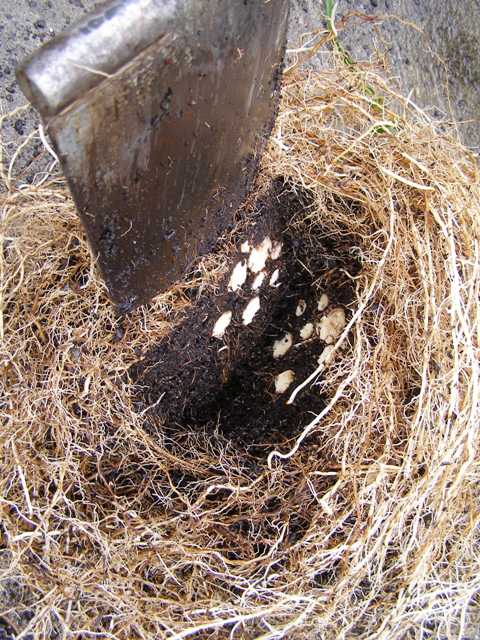
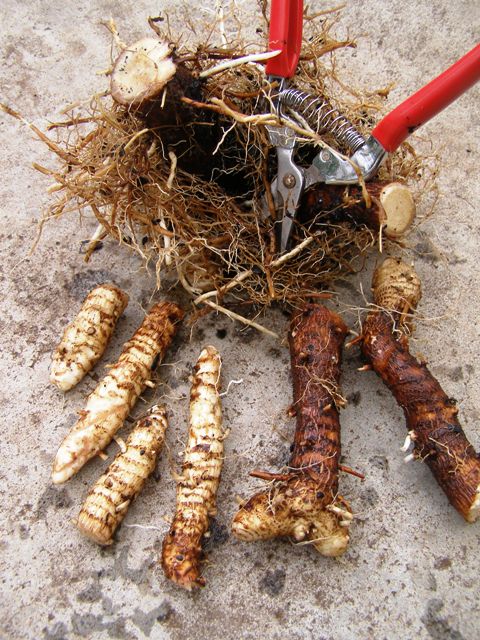
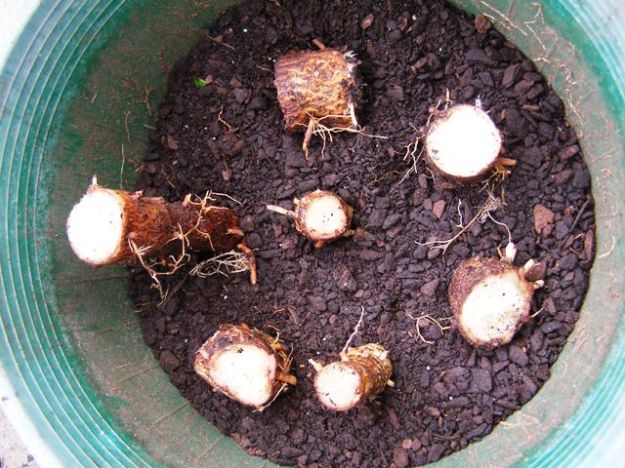
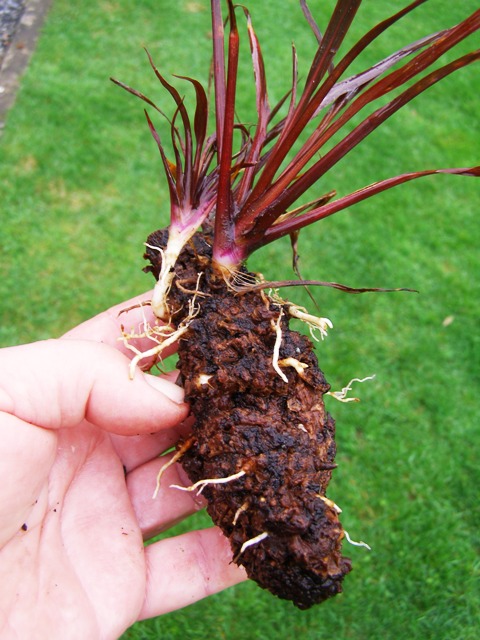
 3) Standing inside the trench, start digging to excavate right underneath the plant. We wanted to keep the root ball relatively whole to act as an anchor because this plant is very top heavy. Gradually reduce the size of the clump, removing excess dirt, keeping a close eye on the root system. If it has a huge root system, you don’t want to be cutting into it too much. If it has a smaller root system, you can reduce it to a size that is more easily managed. We were surprised at how small the root system was on this plant and they were mainly on the surface.
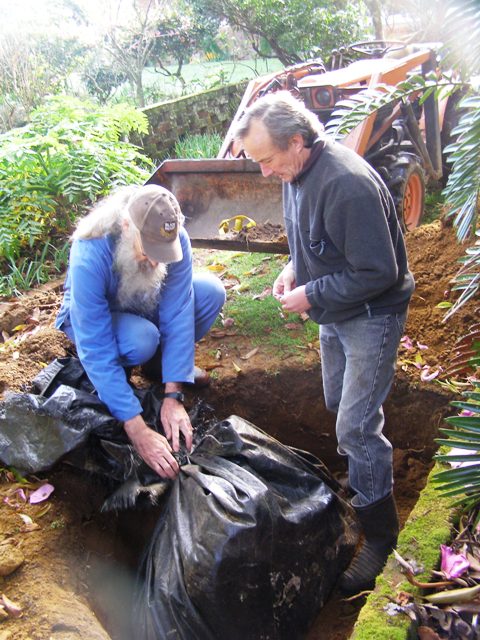 4) Get some heavy plastic, sacking or old weedmat underneath the plant. Do this by rocking the plant to one side and getting the wrapping right underneath it. This usually requires more than one person. Do not let the roots dry out at any stage. With very big plants, the plant can be raised out of the hole by tilting it to one side and backfilling that side. Then rock the plant back and put dirt in on the other side. Repeat the process until you have raised the plant to the level where you can lever it out of the hole more easily. We moved this plant on the front bucket of our baby tractor. You may need to do it by trailer.
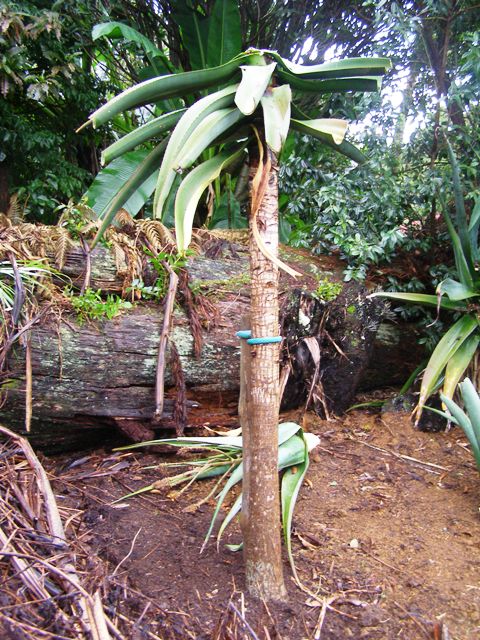 5) In this process, we had an accident and the heavy top was knocked out so we were forced to cut the the poor aloe back but there is no reason why it should not recover. Get the planting level as close as possible to where was. Measure the depth of the root ball and the depth of the hole before planting by placing a board across the hole and measuring from that. Put the stake or stakes in before the plant so that you do not cause more damage to the roots by driving the stakes through them later. We have gone for one very strong stake and a flexible tie.
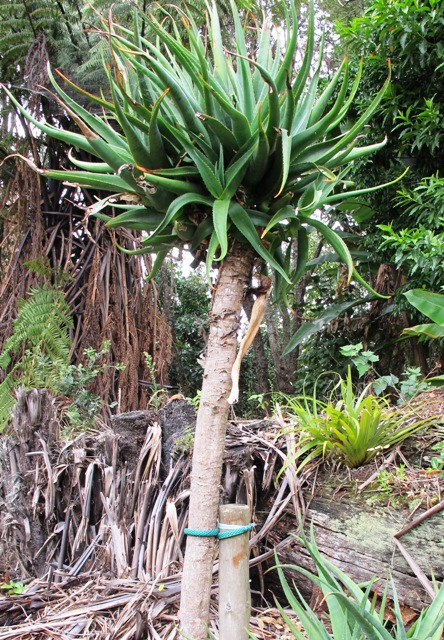 6) Two years later and the plant is recovering well although the foliage has yet to reach its former spread. It should now be safe to remove the stake.


