It is an experience shared by most gardeners. I will just get this (smallish) job done and then go on to something else. And that smallish job expands from a few hours to days or even weeks. So it is with trimming camellias, about which I wrote last week. I am still doing it.

We don’t trim a lot of camellias, I thought to myself. And then I added them up. Excluding the camellia hedges – and there is a fair distance of those – I reached about 40 that get individual attention every year. That is not a lot compared to the number of camellias we have which must be several hundred, but it is still quite time consuming. Some we trim to be feature plants; some we trim to freeze them in size.
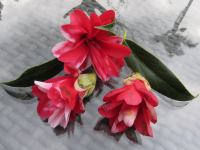
A relatively dry winter has meant we have had a better show this year. It doesn’t resemble the mass displays we used to get before the devastation wrought by camellia petal blight but there have been some pretty blooms. Most of our larger flowered camellias are retained as shelter, screening, wind breaks or their attractive form, certainly not for floral display because that is but a memory and the larger flowered types get hammered by petal blight. It means more work to ensure that in key spots in the garden, we have to make that attractive green form visually effective in order to justify keeping them. We have a strong preference for the small flowered varieties which do still put on a good show. And autumn flowering sasanquas, of course but they are long finished.
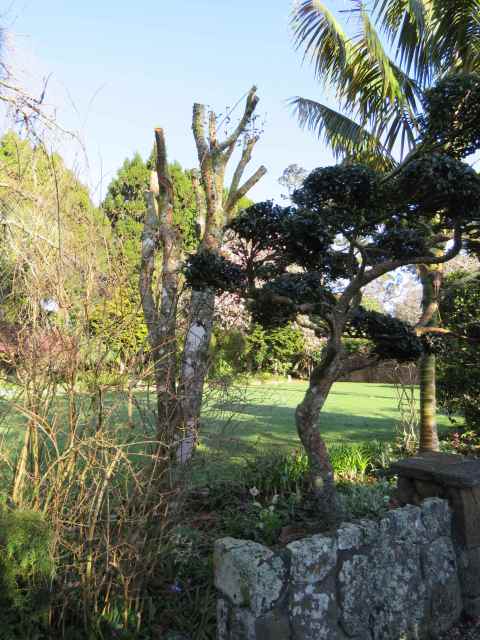
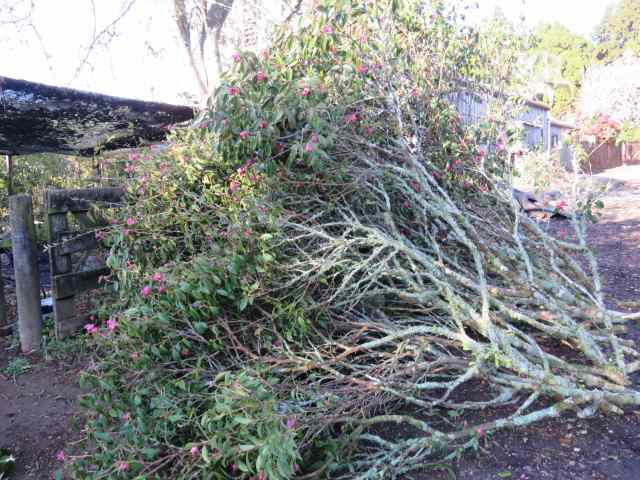
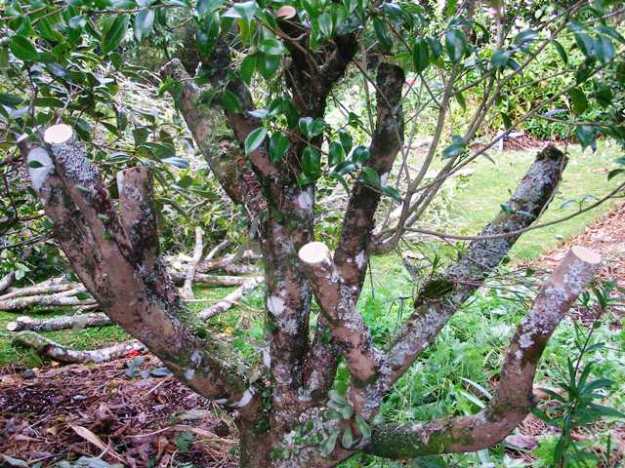
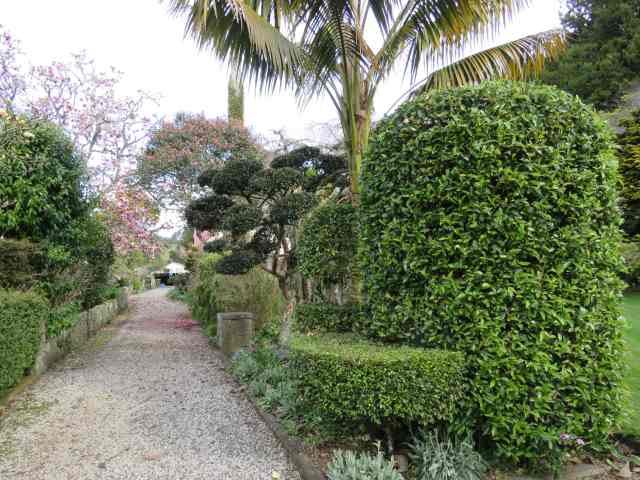
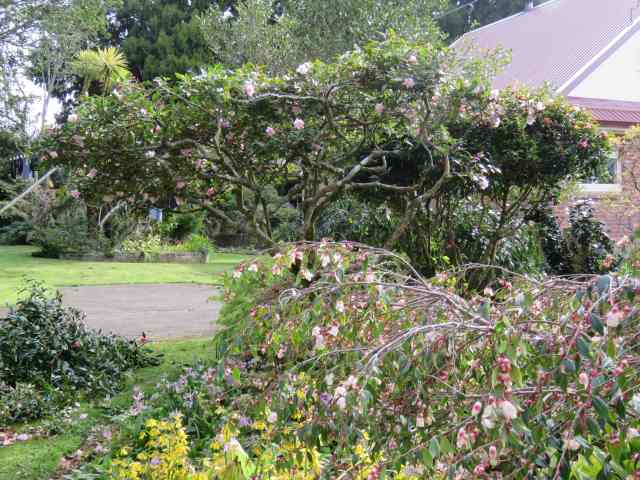
Camellia ‘Fairy Wand’ started life as a miniature back in the days when miniature only applied to the flower size and not, as most people assumed, growth habit. Bred by Os Blumhardt in Whangarei, Mark planted it, ‘Gay Baby’ and ‘Tiny Star’, also from the same breeder, beside our driveway. After about 40 years, they were all about six metres tall and in a decidedly leggy state, with wayward branches being cut off to keep the driveway clear. We stagger our extreme pruning here. ‘Tiny Star’ was cut back two years and is now a bushy little column shape about two metres tall. This week was ‘Fairy Wand’s’ turn for drastic treatment. ‘Gay Baby’ will be done at some stage in the next two years, when ‘Fairy Wand’ has rejuvenated. We don’t want a row of three massacred plants. It took Zach all of an hour to cut back the Fairy and about the same length of time for Lloyd to mulch it up for wood chip.
As an aside, it is possible to rejuvenate most michelias in the same manner. You do need to start with plants that are growing strongly because if they aren’t, the shock may kill them but we have, upon occasion, cut michelias as ruthlessly to promote bushy fresh growth.
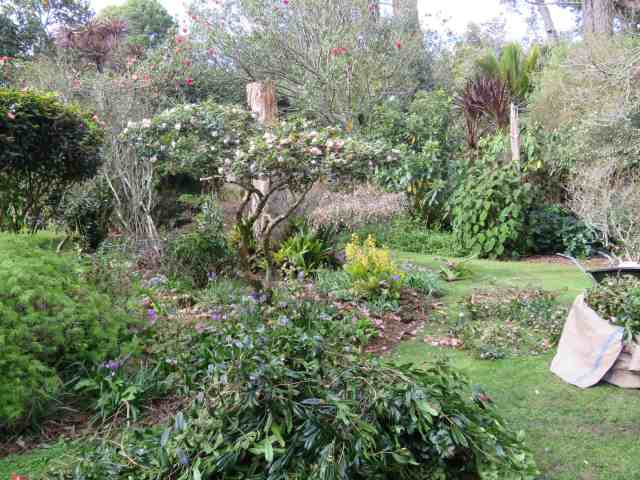
While Zach may only have taken an hour on ‘Fairy Wand’, I have spent many hours on others and that is because we want the form and shape on a healthy plant. I probably removed about 40% of ‘Itty Bit’ to reach this stage.
It took me ages to get ‘Hakuhan-kujaku’, the peacock camellia, to this state. I took out at least 60% of it and it looks a whole lot better for the time spent. Shapely, not hacked or massacred.
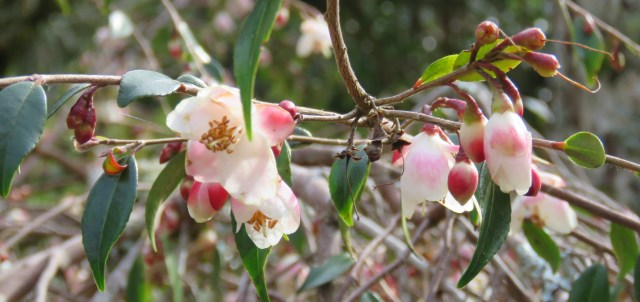
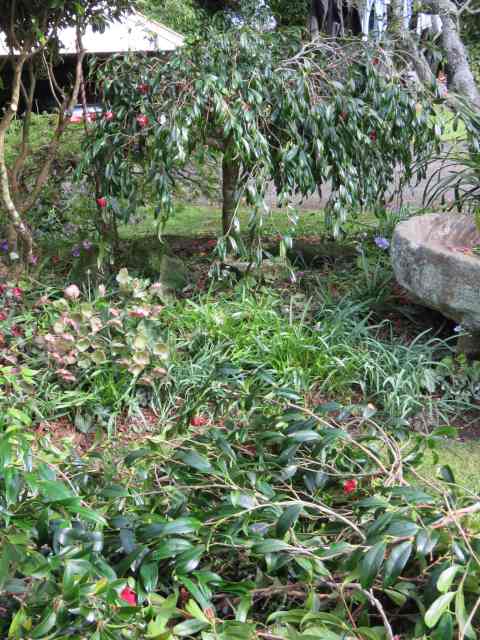
Little C. minutiflora is one of my absolute favourites, though hard to get photographs that do it justice so you will just have to take my word that it is a little charmer. It is a more recent planting so I probably only took 25% off it. At least it will only be a tidy-up trim for the next few years until there is so much congested growth and crossed branches that it is time to spend hours laboriously picking over every branch again.
My secateurs and pruning saw are my best friends at the moment. If you are wondering where to start on this type of pruning, I start by looking at the plant from every angle. Because we are trying to keep the plants from getting tall and leggy, I first take out growths on top that are going straight up instead of bushing out sideways. Then I work around the perimeter, reducing the spread, always trimming growth flush to the branch or trunk. Then I get into the middle and take out crossing branches. Finally, I get underneath and trim from below, making sure there is cover across the top while taking out surplus growths and branches below. I spend a lot of time looking and tracing where main branches go. This is why it takes time.
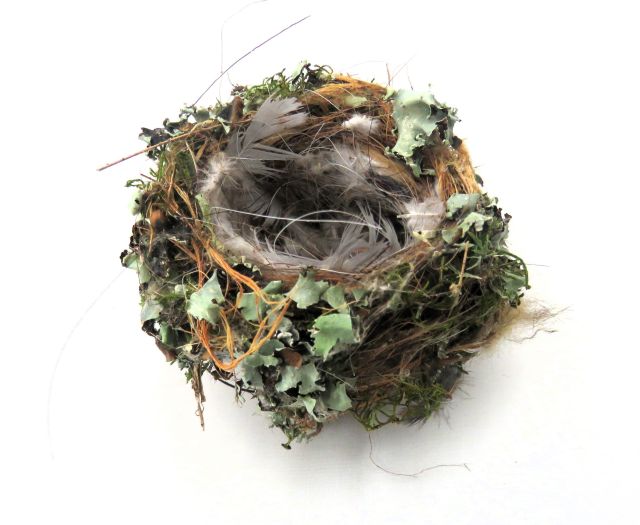
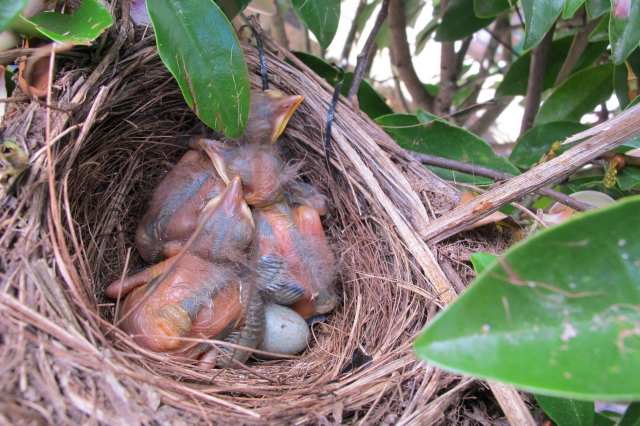
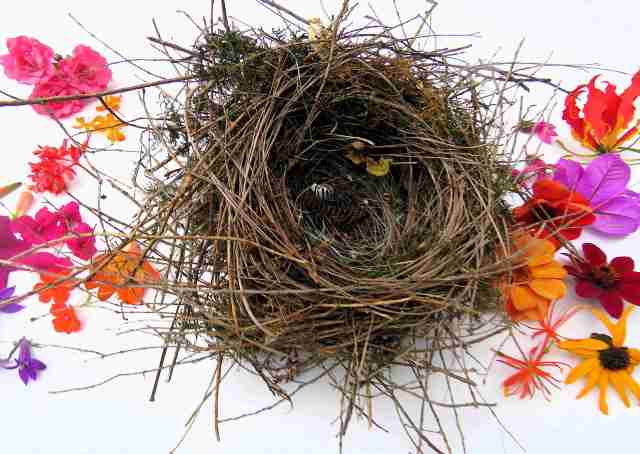
At this time of the year, I remember the warning from friend and colleague, Glyn Church. Pruning needs to be finished very soon on taller trees and shrubs. The birds are nest building and will be laying eggs. Unless you are okay with destroying days of hard work by individual birds and killing off their young, time is of the essence.