Tag Archives: step by step compost

Making cold compost step by step (part 3 of 3)

Part one – low tech, low input means of dealing with green waste.
Part two – making a hot compost mix.

1) In an earlier Classroom, we looked at making hot compost where heat helps the breakdown. Cold compost, where the work is done by worms, is by far the most common form of home compost. You don’t need special facilities – a pile on the ground, compost bins or a netting ring are all fine. It needs to sit on dirt so the worms can move in. You are aiming to build up about a cubic metre of composting material at a time.

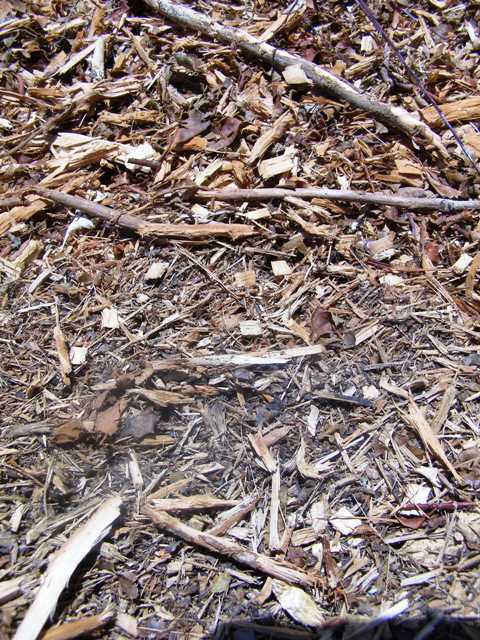
2) The ingredients and ratios are the same as for hot compost but because cold compost is not usually turned, it is better to build it in layers. Nitrogen comes from green waste (fresh leaves, vegetable scraps, lawn clippings etc) and this can be up to 60% of your mix. Carbon comes from dried leaves and stalky vegetation along with all the twiggy bits and this should comprise 40 to 50% of the mix. The carbon also traps air in the mixture and stops it turning to a sludgy mess.

3) Do not put in seed heads or diseased foliage or plants. Without heat, the seeds and diseases will survive and when you spread your compost, you will be spreading them throughout the garden.

4) The usual advice is that citrus peel and egg shells should not be added but we ignore that because we have large quantities of citrus peel to dispose of. The worms ignore it and it rots down of its own accord. However it pays not to add meat which will attract dogs, cats and rats. If you are adding newspaper, scrunch it up first or it comes out at the end of the process pretty much as it went in. Newspaper counts as carbon content.

5) The compost worms will arrive of their own accord. Striped tiger worms are the most common. If you are worried, you can buy them or transfer them from a worm farm but it is not necessary. If your compost pile gets sludgy and smelly, you do not have enough carbon content and it may have insufficient air (oxygen).

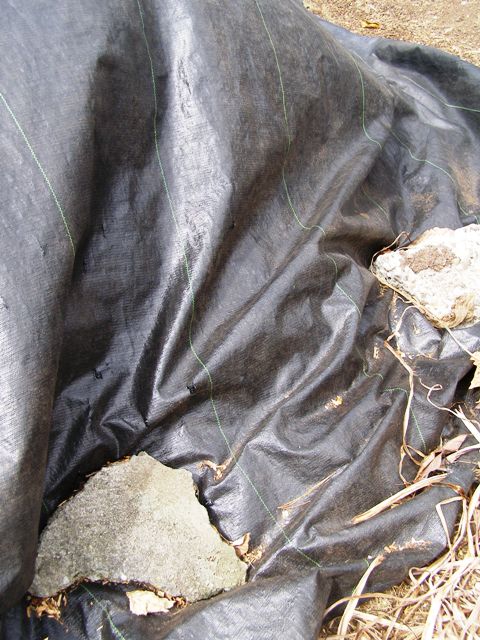
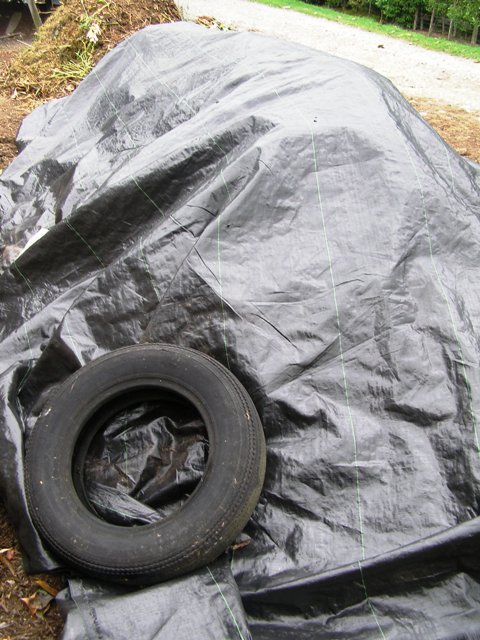
6) When you have about a cubic metre of layered mix, cover the heap or bin. Some people use old woollen carpet. Other options are heavy duty plastic, boards or corrugated iron. We use old weedmat weighed down so it does not blow off. With cold compost, it will take at least six months before it is ready to use and it may take longer over the colder months of the year. But at the end of that, you should have a clean mix which is easy to handle and nutritious in the garden. It is usually best to work with a row of compost heaps, or at least three – one you are building, one that is maturing and one that is being used.

Make your own compost hot mix, step-by-step (part two of three)


Compost part one, saw us looking at low tech, low input ways of dealing with green waste. Here we look at how to make hot compost which sterilises the mix.

1) Compost needs five ingredients:
a) nitrogen
b) carbon
c) oxygen
d) water
e) microbes.
You need to actively manage the process with a hot compost mix. The common failing of the black plastic drum as a compost bin is the lack of carbon and the lack of oxygen which means you get a soggy, sludgy mess. Carbon comes from dry, woody material – twigs (cut up small), newspaper (needs to be shredded or scrunched up), wood chips, sawdust (not tanalised), wood ash, dried leaves. As we make a lot of compost, we get much of our carbon content from the mulcher or wood chipper. Carbon content should comprise close to half the total volume of your compost and, as it is often bulkier, it creates air spaces in the mix.

2) The other half, or a little more than half, of your compost ingredients comes from the green waste (which is the nitrogen component). This includes all green leafy waste, animal manure, food scraps and lawn clippings. Compost microbes will come in with the grass clippings, or you can add some of your old compost mix (the old twiggy bits can go through again).

3) We simply pile it all in a heap until we get enough to work with. Wooden compost bins are a tidy option for the small garden. You need three – the first to accumulate the waste, the second to make it in and the third for compost which is ready to use. Make sure that you can remove all the boards from at least one side to make it easy to move the compost through the bin cycle. Each bin needs to be around a cubic metre at the least. A ring of chicken netting is the low tech method of keeping your growing compost pile contained and is probably easier to work with though less tidy.

4) When you have sufficient volume to work with, adding nitrogen in the form of fresh grass clippings, fresh animal manure, urea or blood and bone will give your compost a kick start to generate heat. Mix it all up. When done by hand, the garden fork is the usual tool to mix. We do the mixing with a baby tractor which is admittedly easier but a little excessive for small town gardens. Cover the heap from here on.

5) The heat should reach between 55 and 75 degrees Celsius within a few days. Turn the heap again – sides to middle – to get the whole lot working. You can see the clouds of steam pouring out of our heap which indicates heat. There will be no worms or insect life in hot compost mix. The heat should also kill off weed seeds and undesirable pathogens. Ideally, turn a third time a few weeks later.

6) Cover and leave the compost to cure for a couple of months or longer. The compost will now cool down and it should be light, friable (almost fluffy), clean and have no offensive odour. In our high rainfall climate, we recommend covering with something reasonably waterproof to prevent the goodness from being leached out. We use old weed mat weighted down at the base. You can also use heavy duty black polythene. Boards or corrugated iron are common on a tidy compost bin structure.

Part three – making cold compost mix.