Author Archives: Abbie Jury

Unknown's avatar

About Abbie Jury

jury.co.nz Tikorangi The Jury Garden Taranaki NZ

Tikorangi Notes: Friday 21 January, 2011

Auratum lilies - a mainstay of our summer garden

Auratum lilies - a mainstay of our summer garden

LATEST POSTS: Friday 21 January, 2010

1) Mid summer is the time for auratum lilies – Plant Collector this week.

2) Garden tasks for the week.

3) In Outdoor Classroom this week, we take the first of a two part look at making compost – simple options.

TIKORANGI NOTES: Friday 21 January, 2010

The auratum lilies are a highlight of summer here. We have yet to master the classic summer herbaceous borders but we can do the auratums well. Divinely scented, big, bold and impossible to ignore, they grow well in both full sun and semi shade. Fortunately, the lily beetle which we saw in English gardens, has not made its way past border control here. That is certainly one pest we can do without.

The glory of the auratum lilies

The glory of the auratum lilies

In the Garden: January 21, 2011

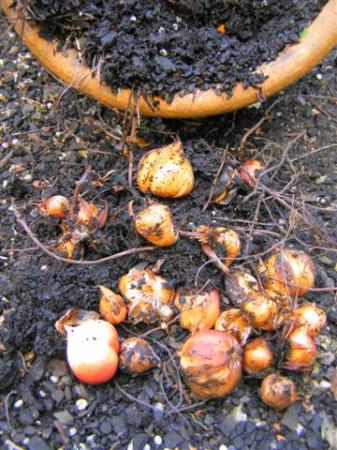
Dry bulbs can still be planted

Dry bulbs can still be planted

• Saturaid or Crystal Rain can look like a good idea at this time of the year. These products generally resemble rock salt crystals when dry but absorb large quantities of water, expanding and changing to chopped jelly in appearance. Use them for hanging baskets, potted annuals or short term potted vegetables. Don’t make the mistake of using them in the garden. While they look appealing at this dry time of the year, with our high rainfall, for ten months of the year they will hold water and ensure that our free draining soils become water logged. Once you have them in the soil, they will stay for years. Longer term container plants don’t want to be kept waterlogged in winter either. So restrict their use.

• However, I am told that these water retention crystals can be very good on lawns which dry out badly over summer and turn brown. I have yet to try this myself but I will in a couple of small problem areas. Carol at my local garden centre says that scattered lightly on the lawn, they have proven very effective and there is good logic to that but be sparing in the quantity used.

• Summer prune cherry trees.

• We have pretty much stopped planting any ornamentals here now until we get significant amounts of rain. If you insist on continuing to plant, you must water well before, during and after the planting process and continuing to water over the next weeks. With water restrictions being imposed in much of our area, it is better to delay all but vegetable planting.

• You can plant dry bulbs and leave them for nature to take its course though garden centres will not generally get any of the new season’s bulbs in stock until the start of February.

• If you grow your own vegetables from seed, you should be getting onto sowing winter vegetables – brassicas, parsnip, carrots, winter spinach and lettuce, leeks and celery. If you are going to buy plants, you have plenty of time. However, starting from seed will save money and give you extra to share.

• This does not apply to Brussel sprouts which must be planted immediately, using young plants, if you are to get a crop through. They have a longer growing season and need to be big, strong plants by winter. This is assuming you eat these gourmet baby cabbages, as we do.

• The food pages of our local paper had a piece tea this week. You may be interested to know that you can grow the tea camellia easily here, as long as you do not get very heavy frosts. What is more, it is sometimes available to buy. Look for Camellia sinensis. Mark brewed the best tea from ours when he bruised the leaves and left them to ferment slightly for 24 hours – apparently closer to Oolong tea. Our home grown product has not replaced our favoured Earl Grey but it is not a bad substitute for those in search of self sufficiency or those who love the freshest of green tea.

Make your own compost hot mix, step-by-step (part two of three)


Compost part one, saw us looking at low tech, low input ways of dealing with green waste. Here we look at how to make hot compost which sterilises the mix.

1) Compost needs five ingredients:
a) nitrogen
b) carbon
c) oxygen
d) water
e) microbes.
You need to actively manage the process with a hot compost mix. The common failing of the black plastic drum as a compost bin is the lack of carbon and the lack of oxygen which means you get a soggy, sludgy mess. Carbon comes from dry, woody material – twigs (cut up small), newspaper (needs to be shredded or scrunched up), wood chips, sawdust (not tanalised), wood ash, dried leaves. As we make a lot of compost, we get much of our carbon content from the mulcher or wood chipper. Carbon content should comprise close to half the total volume of your compost and, as it is often bulkier, it creates air spaces in the mix.

2) The other half, or a little more than half, of your compost ingredients comes from the green waste (which is the nitrogen component). This includes all green leafy waste, animal manure, food scraps and lawn clippings. Compost microbes will come in with the grass clippings, or you can add some of your old compost mix (the old twiggy bits can go through again).

3) We simply pile it all in a heap until we get enough to work with. Wooden compost bins are a tidy option for the small garden. You need three – the first to accumulate the waste, the second to make it in and the third for compost which is ready to use. Make sure that you can remove all the boards from at least one side to make it easy to move the compost through the bin cycle. Each bin needs to be around a cubic metre at the least. A ring of chicken netting is the low tech method of keeping your growing compost pile contained and is probably easier to work with though less tidy.
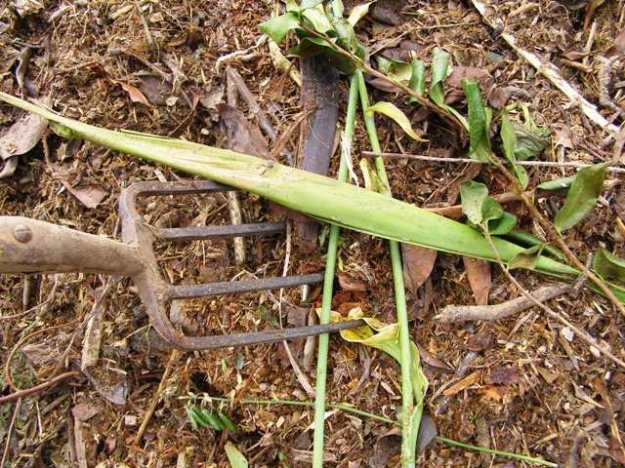
4) When you have sufficient volume to work with, adding nitrogen in the form of fresh grass clippings, fresh animal manure, urea or blood and bone will give your compost a kick start to generate heat. Mix it all up. When done by hand, the garden fork is the usual tool to mix. We do the mixing with a baby tractor which is admittedly easier but a little excessive for small town gardens. Cover the heap from here on.

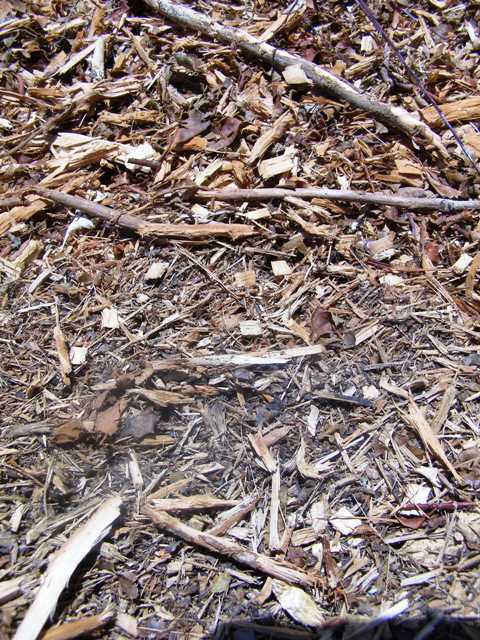
5) The heat should reach between 55 and 75 degrees Celsius within a few days. Turn the heap again – sides to middle – to get the whole lot working. You can see the clouds of steam pouring out of our heap which indicates heat. There will be no worms or insect life in hot compost mix. The heat should also kill off weed seeds and undesirable pathogens. Ideally, turn a third time a few weeks later.

6) Cover and leave the compost to cure for a couple of months or longer. The compost will now cool down and it should be light, friable (almost fluffy), clean and have no offensive odour. In our high rainfall climate, we recommend covering with something reasonably waterproof to prevent the goodness from being leached out. We use old weed mat weighted down at the base. You can also use heavy duty black polythene. Boards or corrugated iron are common on a tidy compost bin structure.

Part three – making cold compost mix.

Make your own compost step-by-step guide: part one (of three parts)

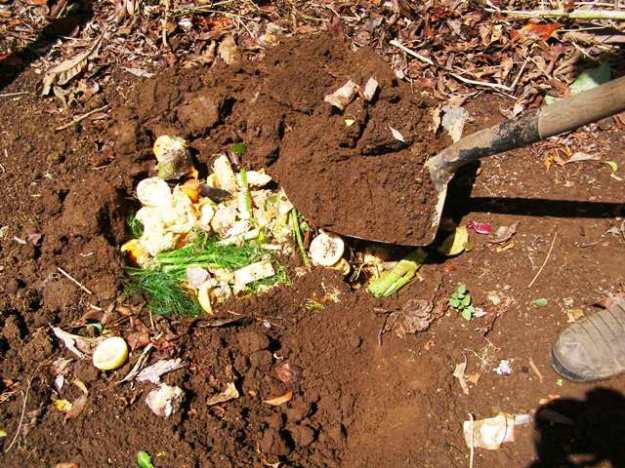
1) Trenching is a traditional method. This involves digging a trench down a row of the vegetable garden and burying kitchen scraps and green waste, covering it immediately with soil. It is easy and tidy and the worms and microbes will break it down quickly but it only fertilises a small area at a time. There is no heat generated so weeds and diseased foliage should never be included. Neighbourhood dogs can learn about digging for victory and may excavate your trench if you add desirable food waste.

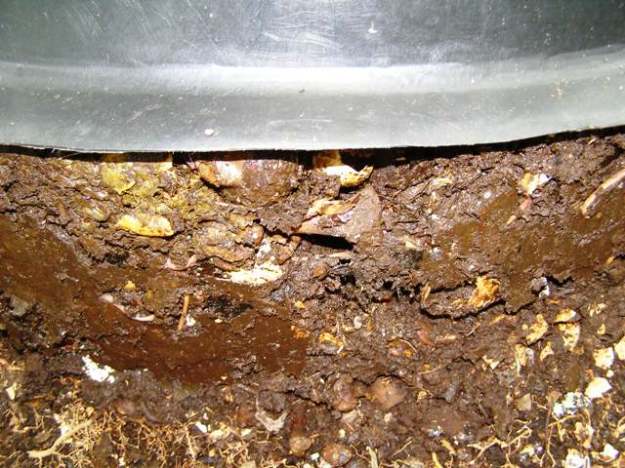
2)The black bin. We have one in the veg garden for kitchen scraps because our compost heaps are some distance away. It is tidy. The contents rot down and are something of a sludgy mess though this is fine to spread on the surrounding garden. The egg shells, however, remain whole and there can be a problem with spreading disease through potato peelings and brassicas with club root. It keeps dogs and cats out of the scraps but is not rodent proof. Because there is no heat generated, it will not destroy weed seeds or diseases (pathogens). The bin has no base to it which makes it easy to lift and move around. It acts more as a worm farm without provision to gather the worm tea. Our bin is full of tiger worms.

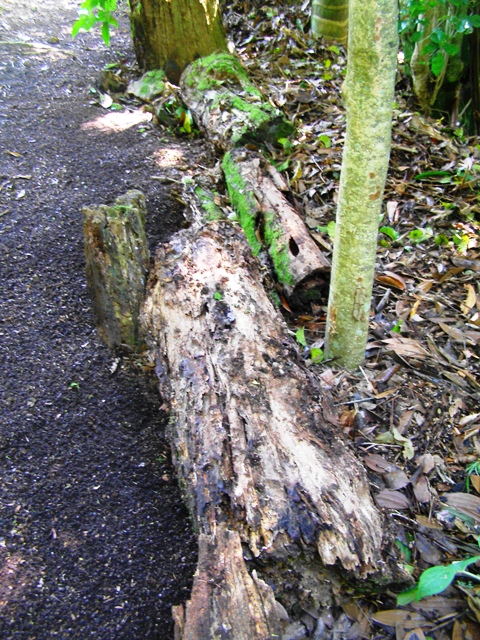
3) If you have many deciduous plants and a build up of too much leaf litter, raking it to a discreet area of the garden in heaps and leaving it for several months can be an easy solution. It needs plenty of rain to break down and the resulting humus will not be as nutritious as compost but it is clean to handle, adds texture to the soil and makes attractive mulch. The leaves piled to the right in the photo are about 30cm higher than the path on the left at this stage but still look tidy.

4) For small town gardens where tidiness is highly prized, the rolling compost drum may be an excellent option. It is not cheap to buy (expect to pay around $220 upwards) but it is very easy to use and as long as you rotate the drum often, it will make good compost faster than any other method we know. If you get your ingredients in the right proportions (more on this next time) and have sufficient moisture and oxygen, the contents should heat up to kill pathogens and seeds and will break down quickly, giving you small quantities of good quality compost in return for minimal effort. Home handypeople can possibly improvise a cheaper alternative.

5) Good compost does not smell, is generally dry and light textured and will leave you with clean hands so it is easy to handle. Sludgy muck, as in Step 2, is rotting organic matter where the breakdown is aided by worms and bacteria in a process which does not generate heat. It still has value but is nowhere near as pleasant to use. Well managed compost can generate enough heat in the process to kill seeds and unwanted fungi and diseases. We will look further at our tried and true techniques of how to generate clean compost in the next Outdoor Classroom.

Part two – making a hot compost mix.
Part three – making cold compost mix.

Tikorangi notes: Friday 14 January, 2011

Too much of a good thing - self sown nikau palms.

Too much of a good thing - self sown nikau palms.

LATEST POSTS: Friday January 14, 2011

1) Is it possible to define the New Zealand garden? I try at least to isolate common threads without necessarily defining a single style. Abbie’s column.

2) I had hoped that the pink form of Schizophragma hydrangeoides would be in bloom this week to photograph but alas it appears as if our large plant is not going oblige with any flowers at all this year. So despite the fact that I used a photograph on Tikorangi Notes last week, I had to resort to using the white form for Plant Collector – but with plant notes as well.

3) Garden tasks for this week of full summer.

TIKORANGI NOTES
By definition, we don’t call self sown seedlings of our native plants weeds here – that derisory term is reserved for introduced plants. But doing battle with runaway native plants has been the order of the week. Ironically, one is the world’s southernmost palm, the nikau (or Rhopalostylis sapida). Handsome though it is, you can have too much of

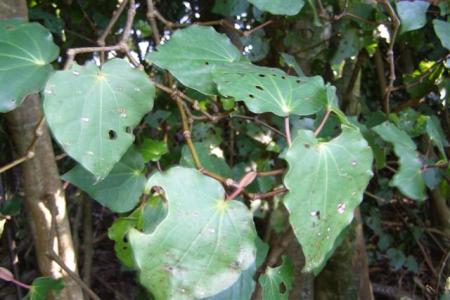
Self sown kawakawa showing typical shot holes in the leaf

Self sown kawakawa showing typical shot holes in the leaf

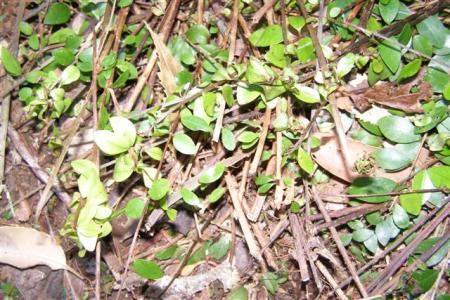
The creeping rata - puts down roots wherever it touches, whether in the ground or clinging to a host tree

The creeping rata - puts down roots wherever it touches, whether in the ground or clinging to a host tree

a good thing and the multiple plants we had let get away in one shaded border were far too numerous, ranging in size from a few centimetres to well established plants of considerable stature. Also seeding everywhere is the tall shrub we call kawakawa or pepper tree (Macropiper excelsum), much prized by traditional Maori for its medicinal and restorative uses and a handy windbreak but not a plant of great beauty. But the most troublesome offender is the rata vine (a metrosideros). It is fine when it scrambles up a tree trunk (though it will eventually kill the host tree which will then cause us a problem when it falls over) but it had spread its tentacles everywhere in an impenetrable mat through the border. It is not as if it flowers down low – a typical climber, it reaches the top of its climb and then flowers. Mark (who largely ignored the clean-up operation) breezily announced that it took twenty years for it become a big problem. As Lloyd and I battled it, we grimly decided that we would stay on top of its wayward habits from now on. If we leave it for another 20 years, we will be way too old and decrepit to curb its spread again.