Tag Archives: Tikorangi: The Jury garden

Make your own compost hot mix, step-by-step (part two of three)


Compost part one, saw us looking at low tech, low input ways of dealing with green waste. Here we look at how to make hot compost which sterilises the mix.

1) Compost needs five ingredients:
a) nitrogen
b) carbon
c) oxygen
d) water
e) microbes.
You need to actively manage the process with a hot compost mix. The common failing of the black plastic drum as a compost bin is the lack of carbon and the lack of oxygen which means you get a soggy, sludgy mess. Carbon comes from dry, woody material – twigs (cut up small), newspaper (needs to be shredded or scrunched up), wood chips, sawdust (not tanalised), wood ash, dried leaves. As we make a lot of compost, we get much of our carbon content from the mulcher or wood chipper. Carbon content should comprise close to half the total volume of your compost and, as it is often bulkier, it creates air spaces in the mix.

2) The other half, or a little more than half, of your compost ingredients comes from the green waste (which is the nitrogen component). This includes all green leafy waste, animal manure, food scraps and lawn clippings. Compost microbes will come in with the grass clippings, or you can add some of your old compost mix (the old twiggy bits can go through again).

3) We simply pile it all in a heap until we get enough to work with. Wooden compost bins are a tidy option for the small garden. You need three – the first to accumulate the waste, the second to make it in and the third for compost which is ready to use. Make sure that you can remove all the boards from at least one side to make it easy to move the compost through the bin cycle. Each bin needs to be around a cubic metre at the least. A ring of chicken netting is the low tech method of keeping your growing compost pile contained and is probably easier to work with though less tidy.
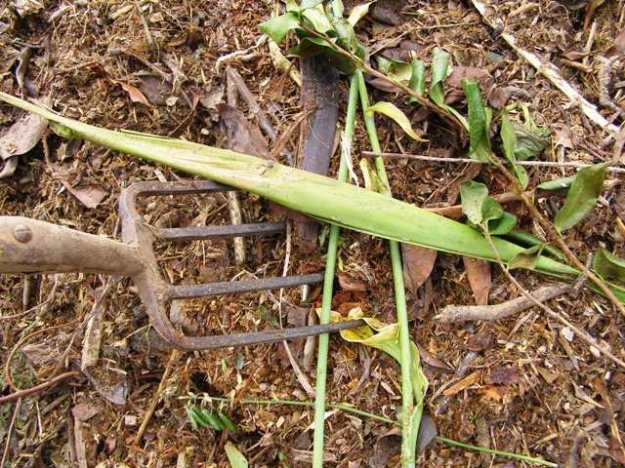
4) When you have sufficient volume to work with, adding nitrogen in the form of fresh grass clippings, fresh animal manure, urea or blood and bone will give your compost a kick start to generate heat. Mix it all up. When done by hand, the garden fork is the usual tool to mix. We do the mixing with a baby tractor which is admittedly easier but a little excessive for small town gardens. Cover the heap from here on.

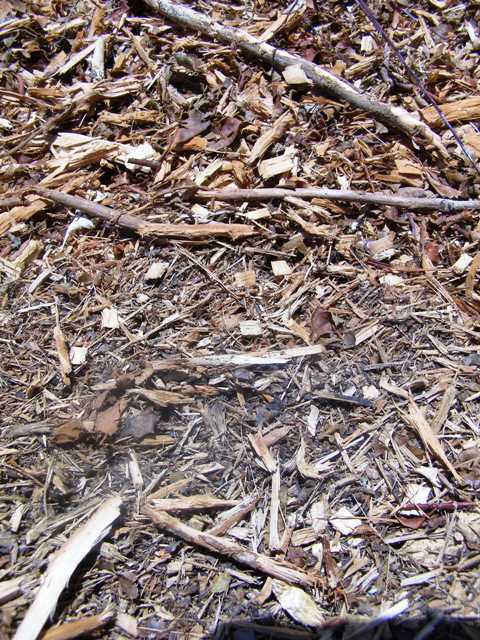
5) The heat should reach between 55 and 75 degrees Celsius within a few days. Turn the heap again – sides to middle – to get the whole lot working. You can see the clouds of steam pouring out of our heap which indicates heat. There will be no worms or insect life in hot compost mix. The heat should also kill off weed seeds and undesirable pathogens. Ideally, turn a third time a few weeks later.
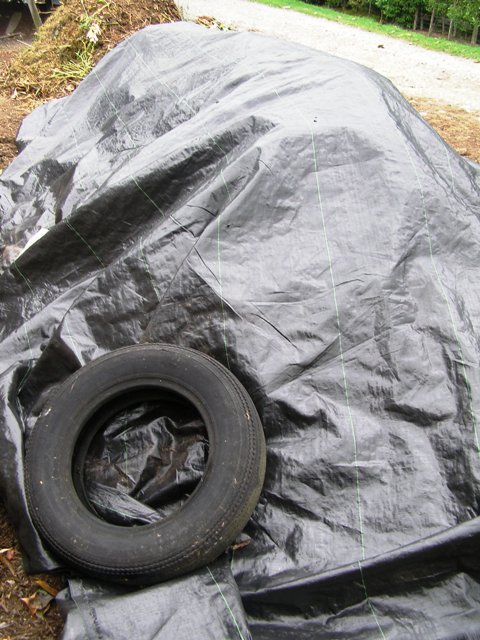
6) Cover and leave the compost to cure for a couple of months or longer. The compost will now cool down and it should be light, friable (almost fluffy), clean and have no offensive odour. In our high rainfall climate, we recommend covering with something reasonably waterproof to prevent the goodness from being leached out. We use old weed mat weighted down at the base. You can also use heavy duty black polythene. Boards or corrugated iron are common on a tidy compost bin structure.

Part three – making cold compost mix.

Tikorangi notes: Friday 14 January, 2011

Too much of a good thing - self sown nikau palms.

Too much of a good thing - self sown nikau palms.

LATEST POSTS: Friday January 14, 2011

1) Is it possible to define the New Zealand garden? I try at least to isolate common threads without necessarily defining a single style. Abbie’s column.

2) I had hoped that the pink form of Schizophragma hydrangeoides would be in bloom this week to photograph but alas it appears as if our large plant is not going oblige with any flowers at all this year. So despite the fact that I used a photograph on Tikorangi Notes last week, I had to resort to using the white form for Plant Collector – but with plant notes as well.

3) Garden tasks for this week of full summer.

TIKORANGI NOTES
By definition, we don’t call self sown seedlings of our native plants weeds here – that derisory term is reserved for introduced plants. But doing battle with runaway native plants has been the order of the week. Ironically, one is the world’s southernmost palm, the nikau (or Rhopalostylis sapida). Handsome though it is, you can have too much of

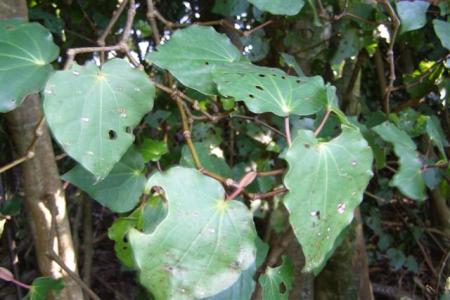
Self sown kawakawa showing typical shot holes in the leaf

Self sown kawakawa showing typical shot holes in the leaf

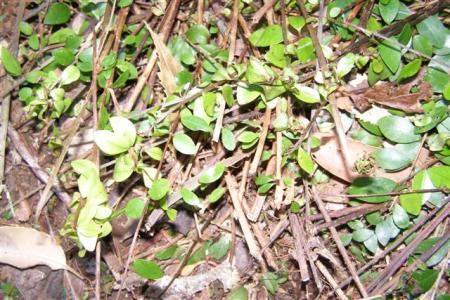
The creeping rata - puts down roots wherever it touches, whether in the ground or clinging to a host tree

The creeping rata - puts down roots wherever it touches, whether in the ground or clinging to a host tree

a good thing and the multiple plants we had let get away in one shaded border were far too numerous, ranging in size from a few centimetres to well established plants of considerable stature. Also seeding everywhere is the tall shrub we call kawakawa or pepper tree (Macropiper excelsum), much prized by traditional Maori for its medicinal and restorative uses and a handy windbreak but not a plant of great beauty. But the most troublesome offender is the rata vine (a metrosideros). It is fine when it scrambles up a tree trunk (though it will eventually kill the host tree which will then cause us a problem when it falls over) but it had spread its tentacles everywhere in an impenetrable mat through the border. It is not as if it flowers down low – a typical climber, it reaches the top of its climb and then flowers. Mark (who largely ignored the clean-up operation) breezily announced that it took twenty years for it become a big problem. As Lloyd and I battled it, we grimly decided that we would stay on top of its wayward habits from now on. If we leave it for another 20 years, we will be way too old and decrepit to curb its spread again.

Tikorangi Notes: Friday January 7, 2011

LATEST POSTS: Friday 7 January, 2011

1) Schimas are flowering trees from the subtropics and tropics of Asia but such is the confusion over classification that the name of the large one we have in full flower this week is a little uncertain but it is likely that it is Schima wallichii subsp. noronhae.

2) Time to see to autumn bulbs without delay (they will be coming into growth shortly) and to summer prune cherry trees along with other garden tasks for the first week of the year in a southern hemisphere summer.

3) I was a bit surprised to find that the common advice is to spray apple trees every 10 days to a fortnight with an insecticide and fungicide throughout summer. Fortunately apples can still survive and crop on benign neglect – ours are lucky to get one winter spray of copper or lime sulphur and a summer spray to combat codling moth. Our latest Outdoor Classroom gives a simple approach to summer care of apple trees.

4) Helleborus orientalis are tried and true plants, understated and undemanding but quiet stars in winter.

One of the trumpet hybrid lilies growing through a lacy, burgundy maple

One of the trumpet hybrid lilies growing through a lacy, burgundy maple

TIKORANGI NOTES: Friday 7 January, 2011
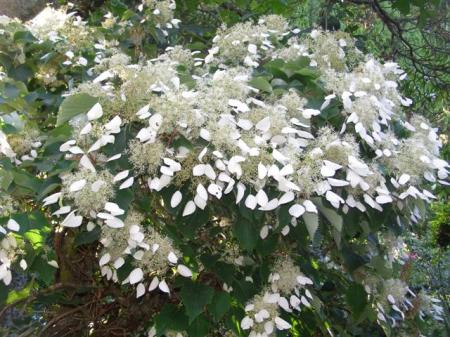
Lilies feature in our summer display here and fortunately in New Zealand, they are generally free from insect pests. The lily beetle which we saw infesting the blooms in the UK in 2009 was enough to make one give up growing them. That is one pest we can do without here. While our main display will come in the next week or two with the auratums, it is the trumpet hybrids which are looking winners this week. The climbing Schizophragma hydrangeoides is also looking very fetching – a fluff and festoon of flowers all but covering the foliage.

The froth of Schizophragma hydrangeoides in flower

The froth of Schizophragma hydrangeoides in flower

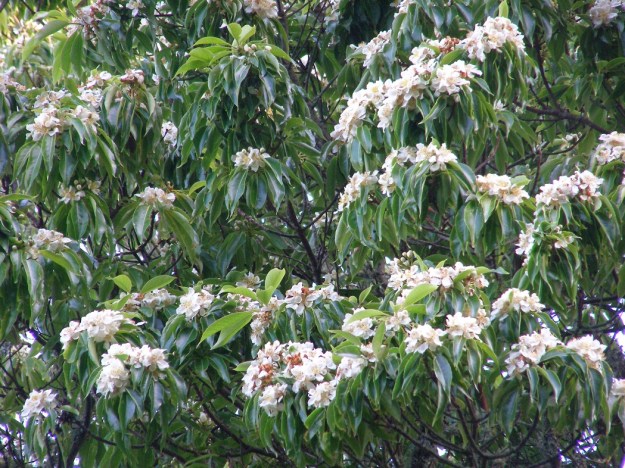
Plant Collector: Schima wallichii subsp. noronhae (probably)

Schima, probably noronhae

I went on a bit of a search for the accurate species name of this tree in flower here, trying to sort out whether it was Schima wallichii or Schima noronhae. The naming of plants can be a fluid affair with reclassification happening often but schimas are more like quicksand than fluid – described by the most recent, authoritative tome on trees (New Trees) as simply a mess. What we do know is that it is that schima are a somewhat tender tree family from subtropical and tropical Asia and this particular specimen is rather large now. We live in a two storied house with reasonably tall gables but this tree is now closer to a third story level.

The little white 5-petalled flowers are pretty enough en masse this week, but it is the new growth at the end of October which I like more. The fresh young leaves are bright lime green and it is like a large beacon in the distance. Soon after the new leaves arrive, it drops all its old leaves in a whoosh. It is an evergreen – it is never totally bare, but most evergreen trees gently shed old leaves all the time, not in one hit. We have a number of schimas here (S.khasiana is even larger) but as far as we can make out, this one is S.noronhae. They belong to the theaceae family and are distant relatives of both camellias and gordonias. Schimas are commonly raised from seed – there don’t appear to be named clones yet though in time, no doubt there will be selections made to be grown by people with plenty of space and very mild conditions.

A laissez-faire approach to summer care for apple trees

Step by step instructions for pruning apple trees in winter are available here.

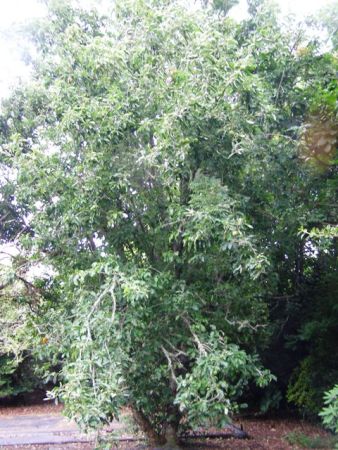
1) Apple trees can survive and continue to crop despite total neglect, but you will get much better results if you give them some attention. This huge old Granny Smith apple tree has not been touched for many, many years and shows why it is better to start with grafted apples on dwarf root stock. This tree is destined to be cut out in favour of our smaller trees which are easier to care for.

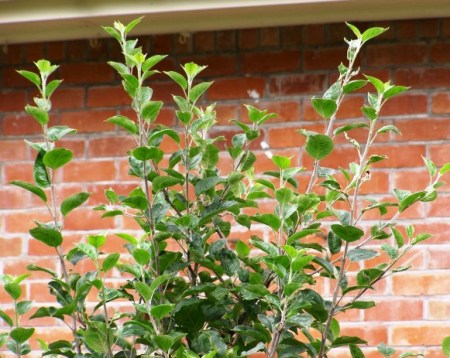
2) Apple trees are currently sporting their new growth which shows as long leafy whips. It is this growth which will give replacement fruiting spurs next summer. Ideally, you should be replacing all fruiting spurs on a two to four year cycle – cutting out old clusters and allowing fresh ones to take their place.

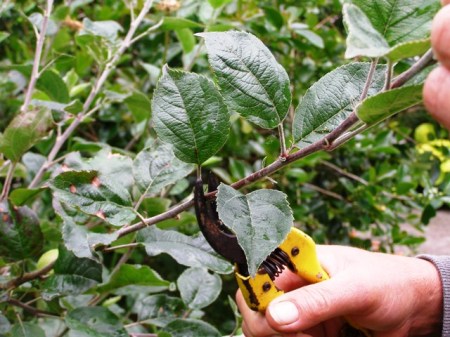
3) Trim the long whips back to about half their length to encourage the fruiting spurs to develop. Surplus whips can be cut right back to a bunch of fruit. You want to keep the tree open and uncluttered to allow the fruit to ripen well.

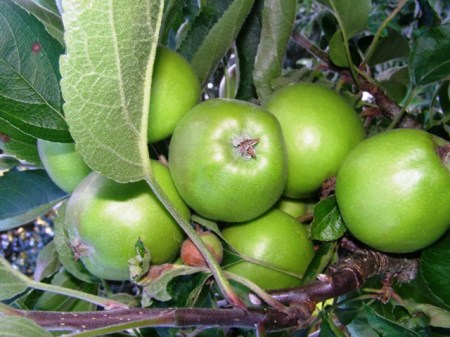
4) If your apples are looking too bunched up, it is best to thin out the fruit so that those that remain will be better quality. The tree will drop some surplus fruit before it is ripe, but thinning ensures that you keep the best specimens and stops the weight from breaking branches. Cut off very small or deformed fruit, reducing bunches to between two and four fruit. Some people recommend taking out the centre apple from a bunch to give those around it room to develop fully.

5) Codling moth is the single biggest problem and the caterpillars can take out an entire crop if left unchecked. They burrow into the apple, leaving nasty black tunnels. It is too late this season to try organic controls (pheromone traps and collars on the trunk of the tree). You need to start earlier in spring. We are resorting to insecticide spray this year to try and break the cycle. December to February are the times for spraying. It is recommended that it be done fortnightly but we will only do it once or twice.

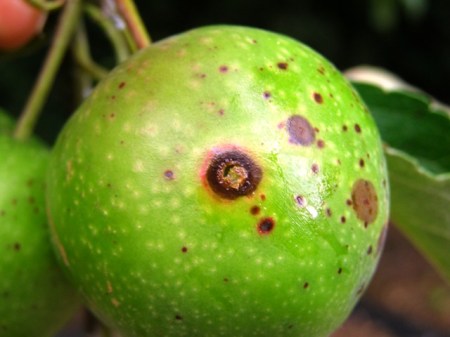
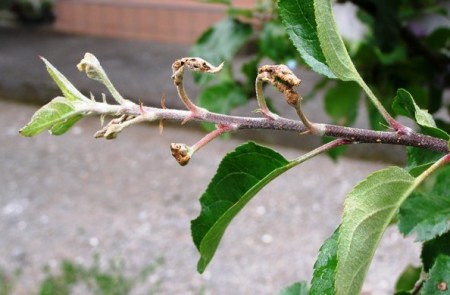
6) We do not carry out a rigorous spray programme so our trees show black spot, mildew, leaf curl and various other afflictions but we still get crops of apples. Traditional practice is to spray with both insecticide and fungicide every 10 to 14 days after the blossom petals have dropped until harvest – ask at your local garden centre for appropriate sprays. Spraying will give heavier crops of more attractive fruit but we are willing to trade that off by having additional trees and not spraying much at all. The leaf curl shown here is caused by a tiny orange midge and is easily dealt with by cutting off the tips of the branches and burning the leaves.