
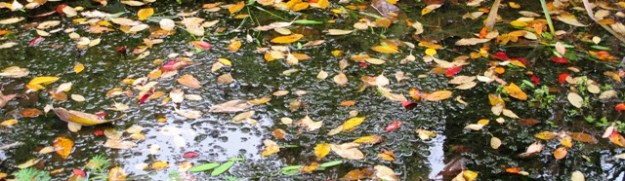
 Autumn colour occurs when deciduous trees shut down the chlorophyll which is what makes most leaves green. It is chlorophyll which enables the plant to combine sunshine, water and carbon dioxide, making the simple sugars that sustain the plant (a process called photosynthesis). Once the green colouring disappears from the leaves, the other colours already in the leaf become obvious.
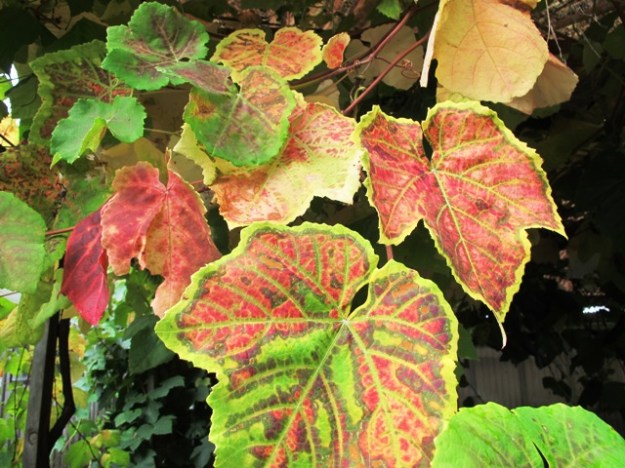 You can see in this grape leaf that the chlorophyll is still alive in parts, particularly the veins but other colours dominate in the body of the leaf. Not all grapes colour the same way. Our Albany Surprise grape becomes brilliant yellow, making it appear as if the sun is shining, even on a grey day.
 Some of our flowering cherries (prunus) turn yellow but this one is notable for its red colouring, caused apparently by anthocyanins which are what give the red and purple tones. Bright light in autumn helps the anthocyanins and bright sunlight is one thing we do well in most of this country.
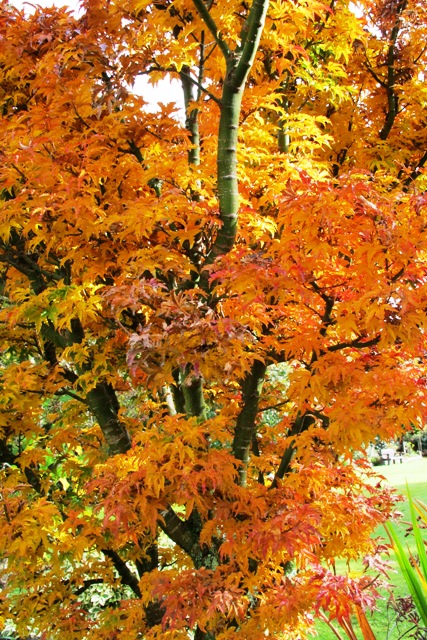 Maples, particularly the Japanese varieties, are one of the most reliable plants for autumn colour and the brilliant hues occur even in milder areas where some other plants will just skip the colouring step and turn brown. What is more, there are many petite maples (often sold as patio varieties) which will fit in even the smallest garden.
 We find the deciduous conifers colour well for us. This is a taxodium but the metasequoia and glyptostrobus are also good. However these are large trees, unsuitable for small urban sections. There are many smaller growing options like the koelreuteria or parrotia.
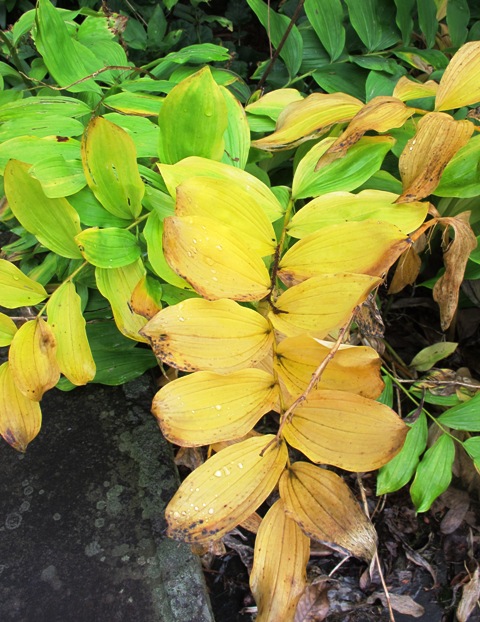 Just to prove it is not only the woody trees and shrubs that can flaunt their autumn raiment, Soloman Seal (Polygonatum multiflorum) grows from rhizomes below ground. A common enough plant which fills a role in semi shade conditions, it can startle with its golden foliage as it prepares to hibernate for winter.
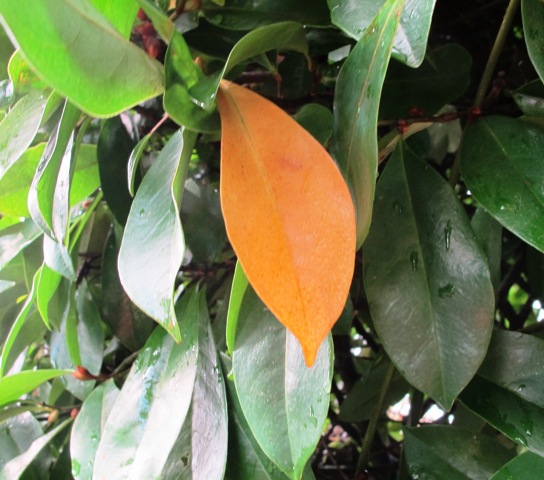 Many folk never consider that evergreen plants also drop leaves (do they think that foliage is permanently attached for the life of the plant?). All evergreens drop a full set of foliage every year. It is just that they don’t drop them all at once. However some plants, like this Fairy Magnolia Blush, have a tendency for some leaves to colour and then drop in autumn. It is not a bad sign, it is just part of the plant’s cycle.
First published in the Waikato Times and reprinted here with their permission.

 Garden Lore
